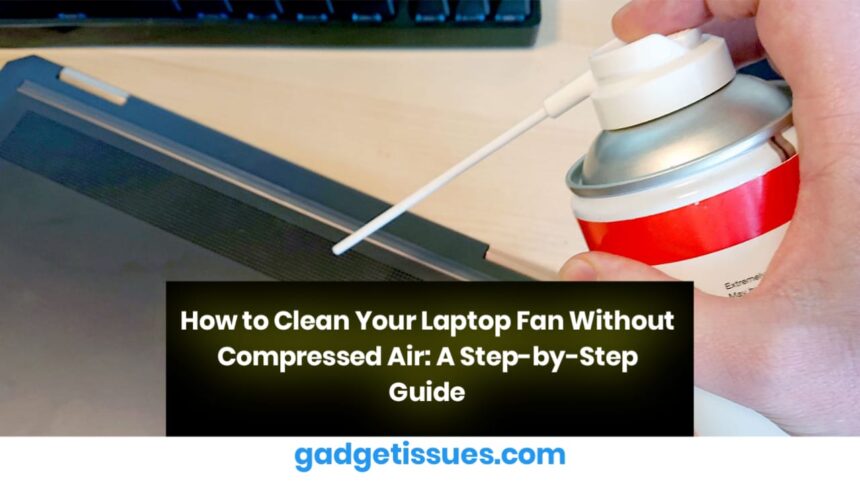
If your laptop has been making unusual noises or overheating, it’s likely due to dust buildup around the fan. While compressed air is a popular tool for cleaning, not everyone has access to it—or prefers using it. The good news? You can clean your laptop fan effectively without compressed air by following a few straightforward steps. In this guide, we’ll walk you through the process of safely cleaning your laptop fan and vents using tools you may already have at home.
Why Cleaning Your Laptop Fan Matters
The fan in your laptop plays a crucial role in regulating its temperature. Over time, dust and debris accumulate around the fan and vents, obstructing airflow and causing overheating. This can lead to reduced performance, noisy operation, and even hardware damage. Regular cleaning ensures your laptop stays cool, quiet, and efficient.
For more tips on maintaining your laptop’s health, check out Essential Laptop Maintenance Tips
7 Steps to Clean Your Laptop Fan Without Compressed Air
- Turn Off and Unplug Your Laptop
Safety is paramount when working on your laptop. Start by shutting it down completely and unplugging it from any power source. If your laptop has a removable battery, take it out to prevent accidental electrical surges. - Open the Back Panel Carefully
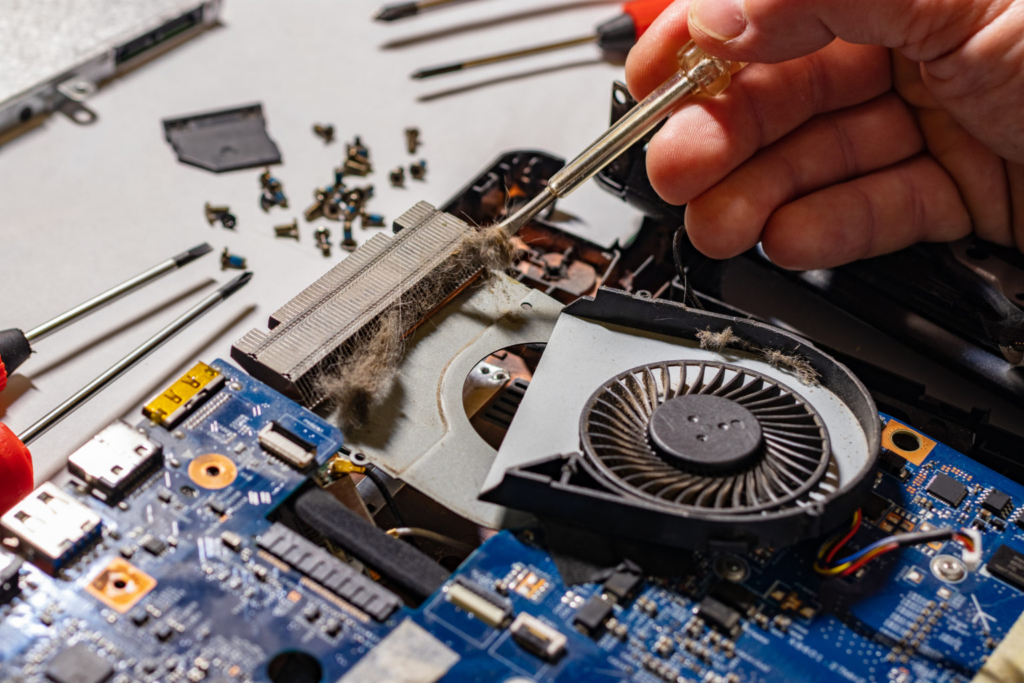
Most laptops have screws on the bottom panel that can be removed with a small screwdriver. Gently unscrew and lift the back panel to access the internal components. Be cautious not to damage any cables or connectors while doing so. - Locate the Fan
Once the back panel is off, locate the fan. It’s usually positioned near the edges of the laptop where the heat exhausts are located. Take a moment to familiarize yourself with the layout before proceeding. - Clean the Fan Blades with a Microfiber Cloth
Use a lint-free microfiber cloth to gently wipe away visible dust from the fan blades. Be extremely careful during this step—fan blades are delicate and can bend easily if too much pressure is applied. - Use a Soft Brush for Hard-to-Reach Areas
For stubborn dust in tight spaces, use a soft-bristled brush (like a makeup brush) to clean between the fan blades. This will help dislodge any remaining particles without risking damage to the fan or surrounding components. - Clean the Vents
Dust often accumulates in the vents, restricting airflow. Use a toothpick or a soft brush to carefully remove debris from these areas. Clearing the vents improves cooling efficiency and prevents overheating. - Reassemble the Laptop
Once the fan and vents are clean, reattach the back panel and secure the screws tightly. Double-check that everything is assembled correctly before turning your laptop back on.
How Often Should You Clean Your Laptop Fan?
For most users, cleaning your laptop fan every 4-6 months is sufficient. However, if you frequently work in dusty environments—such as garages, workshops, or homes with pets—you may need to clean it every 2-3 months. Regular maintenance ensures optimal performance and extends the lifespan of your device.
Can You Use a Hair Dryer Instead of Compressed Air?
While it might seem like a convenient alternative, using a hair dryer is not recommended. Hair dryers emit hot air, which can damage sensitive internal components. Additionally, they lack the precision of compressed air, potentially pushing dust deeper into your laptop. Stick to safer methods like brushes and cloths for effective cleaning.
Also Read : How to Repair a Phone LCD Screen Without Replacing It: Simple DIY Solutions