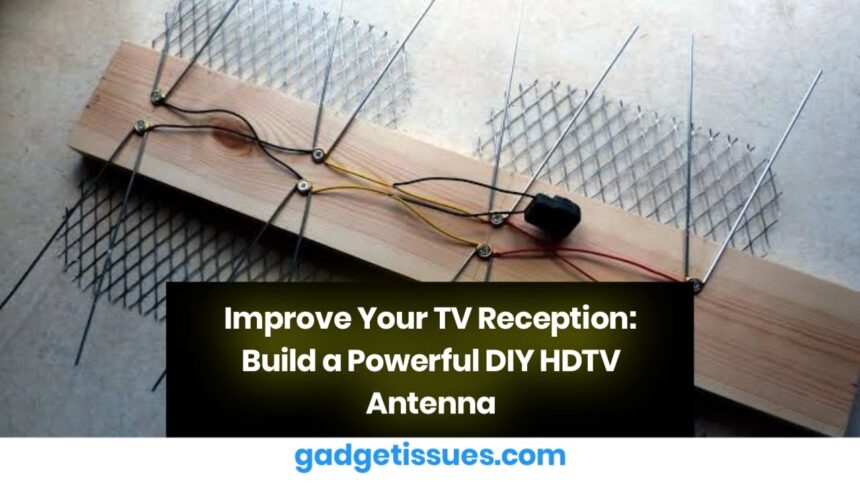
Are you frustrated with poor TV reception and missing out on your favorite free channels? Instead of spending money on expensive antennas or cable subscriptions, why not build a DIY HDTV antenna at home?
With just $15 worth of materials and about 30 minutes of work, you can create a powerful antenna that improves your reception, provides access to more channels, and delivers superior picture and sound quality—all without paying for a subscription.
In this guide, we’ll walk you through the entire process, from gathering materials to positioning your homemade antenna for the best signal.
Why Build a DIY HDTV Antenna?
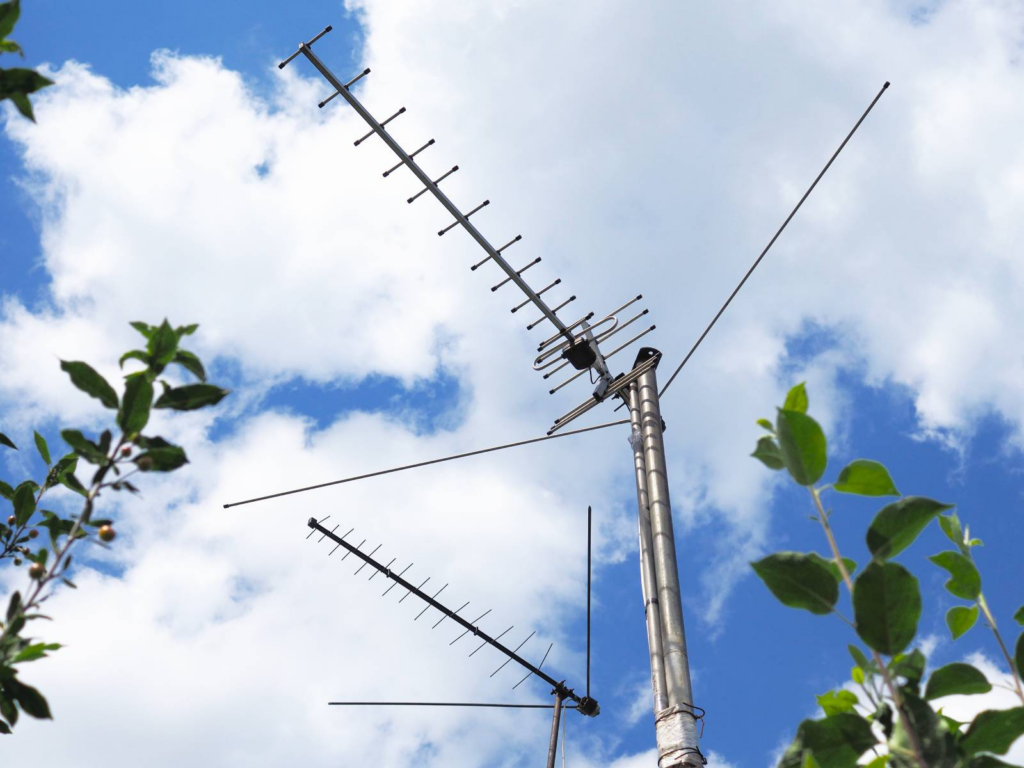
TV antennas might seem old-fashioned, but they’re still the best way to access free, high-definition (HD) broadcasts. Modern flat antennas may look sleek, but they often fail to capture signals effectively, especially if you live far from broadcast towers.
Benefits of a DIY HDTV Antenna
- Cost-Effective – Spend just $15 instead of buying a commercial antenna.
- Better Reception – Captures signals more effectively than most store-bought antennas.
- More Channels – Get access to more free HD channels, including major networks.
- Customizable – Adjust size and position for the best results.
- No Subscription Fees – Enjoy high-quality TV without ongoing costs.
Materials and Tools Needed
Supplies
- Wood board – At least 3 feet long and more than 1.5 inches wide. A 3×1 pine board or a standard 2×4 will work well.
- Copper, aluminum, or steel wire – Use uncoated wire (8-14 gauge). Around 20 feet should be enough. Coat hangers can also work.
- 10 small screws – #6 screws are recommended. Ensure they are not too long to pierce through the board.
- 10 washers – The hole should fit the screw threads but be smaller than the screw head.
- Balun/transformer – A “75 to 300 Ohm Matching Transformer,” which converts the antenna signal for a coaxial cable connection.
- Coaxial cable – Choose the length based on how far the antenna will be from the TV.
Tools
- Wire cutters – For cutting and shaping the antenna wires.
- Needle-nose pliers – To bend and twist wires into place.
- Screwdriver or power drill – Makes it easier to insert screws.
- Measuring tape and marker – For accurate placements.
Optional Accessories
- Antenna amplifier – Boosts weak signals, especially if the antenna is far from the TV.
- Amplified splitter – If you plan to connect multiple TVs, use an amplified splitter instead of a regular one to prevent signal loss.
- Line amplifier – Needed if your coaxial cable is longer than 50 feet to maintain strong signal quality.
Step-by-Step Guide to Building the Antenna
Step 1: Mark Screw Points on the Wood Board
- Start near the top of the board and mark points where the wires will be attached.
- Space the marks evenly, about 6 inches apart, to create a symmetrical pattern.
- Make sure to leave enough room at the bottom for the balun/transformer connection.
Step 2: Cut and Shape the Wires
- Cut 8 pieces of wire, each around 14 inches long.
- Use pliers to bend each piece into a “V” shape, with the open ends about 3 inches apart.
- These wires will act as the elements that capture TV signals.
Step 3: Attach the Wires to the Board
- Place a washer at each marked point and insert a screw through the washer and into the board.
- Position the “V”-shaped wires under the washers and tighten the screws to hold them in place.
- Ensure each wire pair is securely fastened but not crushed.
Step 4: Connect the Balun/Transformer
- Attach the two ends of the balun to the bottom set of screws.
- Tighten the screws to secure the connection.
- Connect the coaxial cable to the balun.
Step 5: Position the Antenna for Best Reception
- Place the antenna near a window or in an attic for better signal reception.
- If reception is weak, try adjusting the angle or mounting the antenna higher.
- Use a signal strength meter or your TV’s signal test function to find the best location.
Final Thoughts
Building a DIY HDTV antenna is an easy and affordable way to improve your TV reception and access free high-definition channels. With just a few basic materials and simple steps, you can create an effective antenna that rivals commercial options.
If you’re experiencing signal issues, experiment with positioning and consider adding an amplifier for better reception. Once set up correctly, your homemade antenna will provide crystal-clear TV without any subscription fees.
Also Read : Apple’s Services Revenue Hits Record $100 Billion, Surpasses 1 Billion Subscriptions in 2024