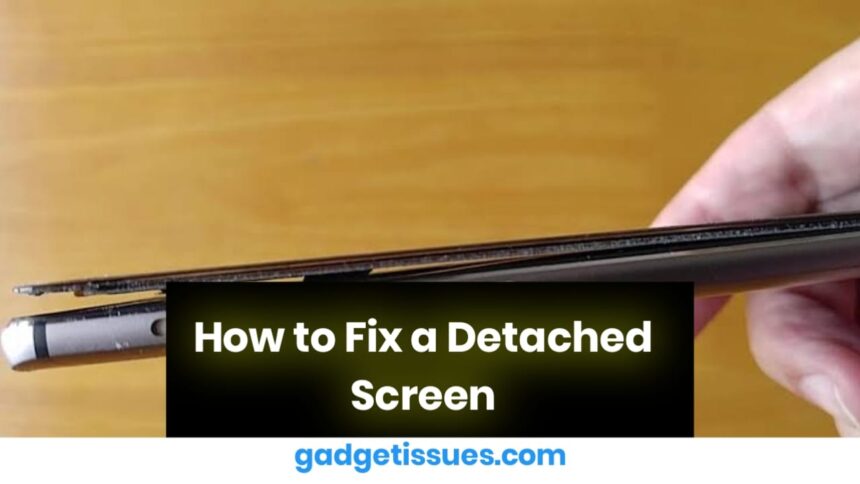
A detached screen can be a serious issue if left unaddressed. Whether it is a smartphone, tablet, or laptop, fixing it promptly can prevent further damage. This guide provides step-by-step solutions, from DIY fixes to professional repair options.
Common Causes of a Detached Screen
- Accidental Drops – Impact can loosen the screen from the frame.
- Weak Adhesive – Over time, heat and humidity can weaken the adhesive holding the screen.
- Battery Swelling – A swollen battery can push the screen out of place.
- Poor Repairs – Previous screen replacements done incorrectly may lead to detachment.
DIY Fixes for Smartphones and Tablets
Required Tools
- Double-sided adhesive tape or B-7000 glue
- Plastic pry tool
- Microfiber cloth and isopropyl alcohol
- Clamps or rubber bands
Step-by-Step Fix
- Power Off the Device – Turn it off and unplug it from any power source.
- Remove Old Adhesive – Clean screen edges with isopropyl alcohol.
- Apply New Adhesive – Use B-7000 glue or double-sided tape along the frame.
- Reattach the Screen – Carefully align the screen and press it into place.
- Secure the Screen – Use clamps or rubber bands for at least 30 minutes.
- Test the Device – Power it on and check touchscreen responsiveness.
This method is best for minor detachments without screen cracks. It is not suitable for swollen batteries or shattered screens.
DIY Fixes for Laptops
Required Tools
- Small screwdriver set
- Screen adhesive or double-sided tape
- Plastic pry tool
- Microfiber cloth and isopropyl alcohol
Step-by-Step Fix
- Power Off and Unplug – Remove the battery if possible.
- Detach the Bezel – Carefully pry off the screen frame.
- Clean the Surface – Wipe off old adhesive using isopropyl alcohol.
- Apply New Adhesive – Stick along the frame.
- Reassemble the Bezel – Snap it back into place securely.
- Test the Display – Turn on the laptop and check if the screen holds properly.
This method works best for loose screens with no internal damage. It is not suitable for broken hinges or disconnected display cables.
When to Seek Professional Repair
If DIY solutions do not work, professional repair may be necessary in the following cases:
- Battery Swelling – If the screen is lifting due to a swollen battery, visit an authorized repair center.
- Non-Responsive Touchscreen – The issue might be with internal connectors.
- Hinge Damage (Laptops) – Broken hinges require expert repair.
How to Prevent Screen Detachment
- Use a Protective Case – Prevents screen damage from accidental drops.
- Avoid Overheating – Excess heat weakens adhesive over time.
- Check for Battery Swelling – Replace aging batteries before they expand.
- Store Devices Properly – Keep them in a safe place to avoid pressure or moisture exposure.
Final Thoughts
For minor screen detachments, adhesive solutions can work effectively. However, for serious issues such as battery swelling or hinge damage, professional repair is the best option.
Also Read : Comprehensive Guide: Apple Watch SE