Smartphones, tablets, and laptops go everywhere with us — in our pockets, bags, and hands — and often end up in dusty or dirty places. Over time, dust, lint, or debris can build up in the charging port, causing loose connections, slow charging, or complete charging failure.
If you’re struggling to plug in your charger or your phone isn’t charging properly, follow this simple guide to safely clean your phone’s charging port. If the problem continues, seek help from a professional repair service.
Steps To Clean Your Phone’s Charging Port
Step 1: Gather Your Materials
You probably already have what you need at home:
- A can of compressed air
- A plastic or wooden toothpick
- A cotton ball or pad
- Isopropyl alcohol (if needed)
- A flat, clean surface in a well-ventilated area
Avoid using metal objects like pins or paper clips — they can damage the port.
Step 2: Prepare a Cotton-Covered Toothpick
Take a cotton pad or ball and press it flat on a table. Gently roll a thin layer of cotton onto the tip of the toothpick at a slight angle. Twist until a small amount of cotton wraps around the end. You can do this on both ends for backup.
Regular cotton swabs might be too thick for some ports.
Step 3: Turn Off Your Device
Before cleaning:
- Turn off your phone, tablet, or laptop
- If your device has a removable battery, take it out to avoid short circuits
Step 4: Blow Compressed Air Into the Port
Hold the can of compressed air upright. Insert the straw just inside the port, toward the side. Spray 1–2 second bursts into the port. Keep the can upright and don’t spray too long — excessive pressure can harm internal components.
Do not blow with your mouth — moisture can damage the port.
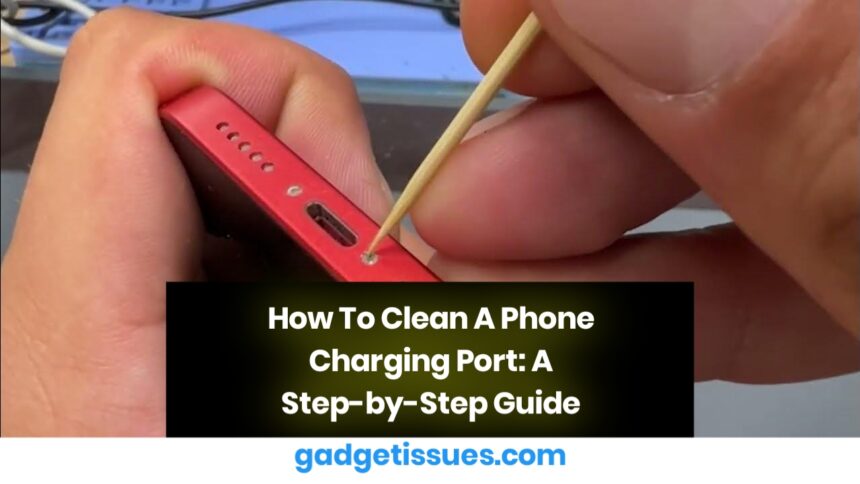
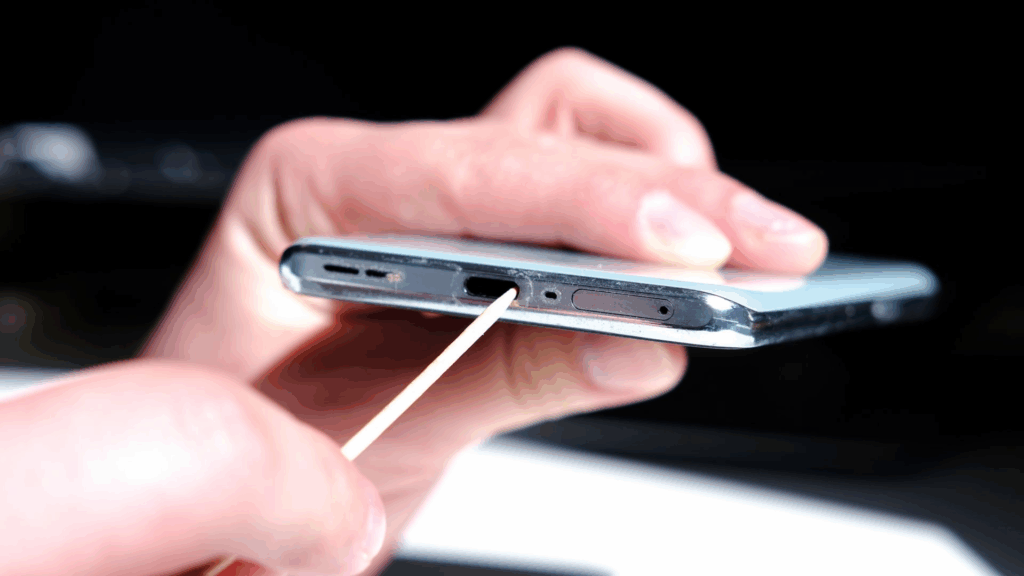
Step 5: Clean with the Toothpick
Gently insert the cotton-covered tip into the port. Lightly drag it along the inner walls to loosen debris. Repeat as needed. For stubborn dirt, slightly dampen the cotton with rubbing alcohol (make sure it’s only slightly moist).
Step 6: Use Compressed Air Again
Tilt your device so the port faces down. Spray again in short bursts to remove any remaining debris. Debris should fall out instead of staying trapped inside.
You can also try double-sided tape on a thin sewing needle to lift out lint if needed.
Still Not Charging?
Check your charging cable — it may be damaged or dirty. Try another cable if available. If problems persist, visit a trusted technician.
What NOT To Do
- Don’t use a toothbrush — bristles can break off inside the port
- Don’t blow air using your mouth — moisture may cause damage
- Don’t use metal tools — they can scratch or short the port
Conclusion
By following these simple steps, you can safely clean your charging port and restore your device’s charging ability. However, if you’re still experiencing issues, in Santa Barbara, California, is here to help. We’re proud to be a locally-owned business offering reliable repairs, fast service, quality parts, and competitive pricing.
Also Read : How to Repair a Broken Laptop Hinge? A Step-by-Step Guide