Disassembling a speaker to repair its charger port involves a few careful steps. It’s important to ensure that you have the right tools and take safety precautions when working with electronics. Here’s a step-by-step guide to help you through the process:
Things You’ll Need:
- Screwdrivers (usually small Phillips head or flathead)
- Pry tools (plastic spudger or case opening tools)
- Soldering iron and solder (if the charger port is detached from the circuit board)
- Replacement charger port (if necessary)
- Electrical tape or heat shrink tubing
- Multimeter (optional, to test if the charging port is functioning)
Steps to Disassemble the Speaker:
- Power Off the Speaker
- Make sure the speaker is turned off and unplugged from any power source.
- If it has a removable battery, take it out to avoid accidental power flow.
- Locate and Remove Screws

- Inspect the speaker for screws that hold the casing together.
- Use a small Phillips or flathead screwdriver to carefully remove the screws. Keep them in a safe place as you’ll need them to reassemble the speaker.
- Pry Open the Speaker Casing
- Use a plastic pry tool or a spudger to gently separate the casing of the speaker.
- Work slowly and carefully to avoid damaging any internal components.
- If the casing is clipped together, gently pry along the edges where the clips are located.
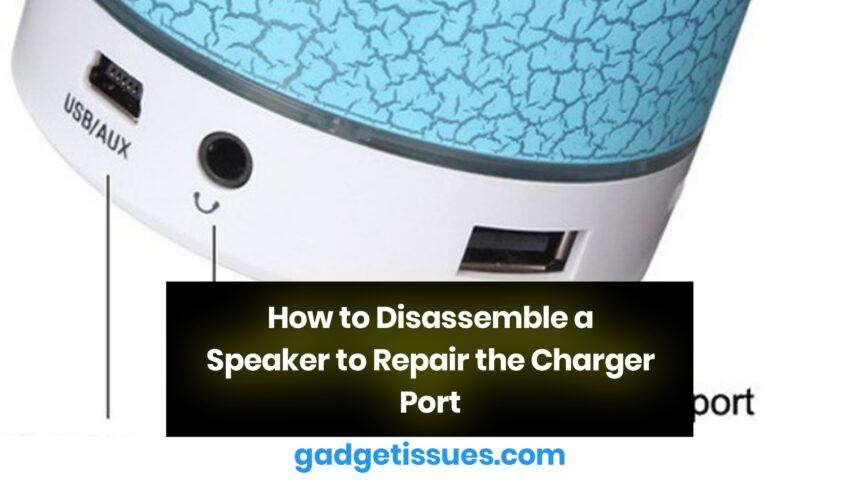
- Access the Charging Port Area
- Once the casing is open, locate the charging port inside. It should be connected to the circuit board.
- Depending on the design, the charging port might be mounted on a small piece of plastic or directly attached to the circuit board.
- Examine the Damage
- Check if the charging port is physically broken, loose, or if the wires have come loose.
- If it’s just a loose wire, re-soldering or reconnecting it might solve the problem.
- If the charging port is physically broken, it will need to be replaced with a new one.
- Repair the Charging Port
- If the port is broken, desolder the old charging port from the circuit board (using a soldering iron and soldering pump) and replace it with a new one.
- If the wires are detached or loose, use a soldering iron to reconnect them securely.
- Use electrical tape or heat shrink tubing to insulate any exposed wiring to prevent shorts.
- Test the Repair
- Before closing the speaker, plug the charger in to ensure the charging port is working properly.
- If the speaker begins charging correctly, you can proceed to reassemble it.
- Reassemble the Speaker
- Once the repair is successful, carefully place all components back inside the speaker.
- Align the casing and clip it back together.
- Replace and tighten all screws to secure the casing.
- Final Testing
- Turn on the speaker and test the charging port once again to confirm that the repair is complete.
Tips and Precautions:
- Take Photos: If you’re unsure about how things are assembled, take photos before disassembling to make it easier to reassemble later.
- Avoid Static Damage: Make sure to ground yourself (use an anti-static wristband if available) to prevent static damage to the internal components.
- Use Proper Tools: Avoid using metal objects or excessive force, as this can damage the internal circuit board or plastic housing.
Also Read : How to Fix or Replace a Faulty Headphone Jack