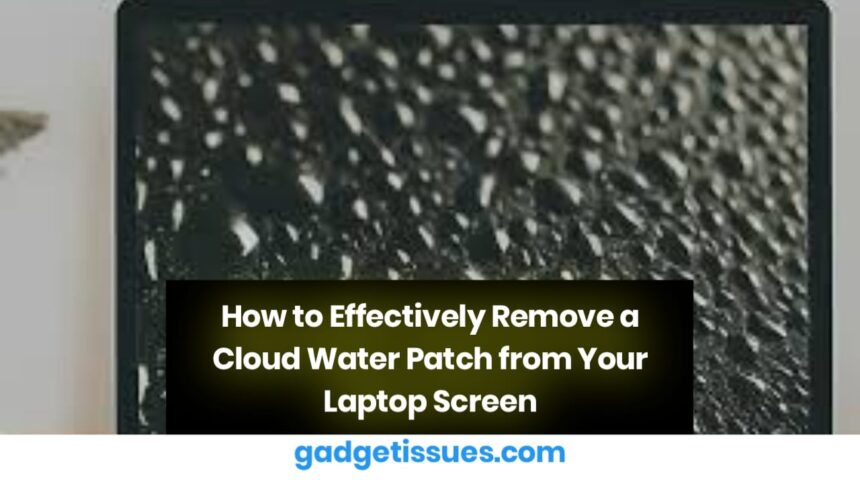
Discovering a cloud water patch inside your laptop screen can be concerning, but it’s a common issue that can often be resolved with the right approach. In this post, we’ll walk you through an effective method to remove a cloud water patch and restore your laptop screen’s functionality.
Steps to Remove a Cloud Water Patch from the Laptop Screen
There are several ways to remove a cloud water patch, but not all of them are reliable. The method outlined below is both simple and effective. Follow these steps carefully:
Step 1: Prepare Your Laptop
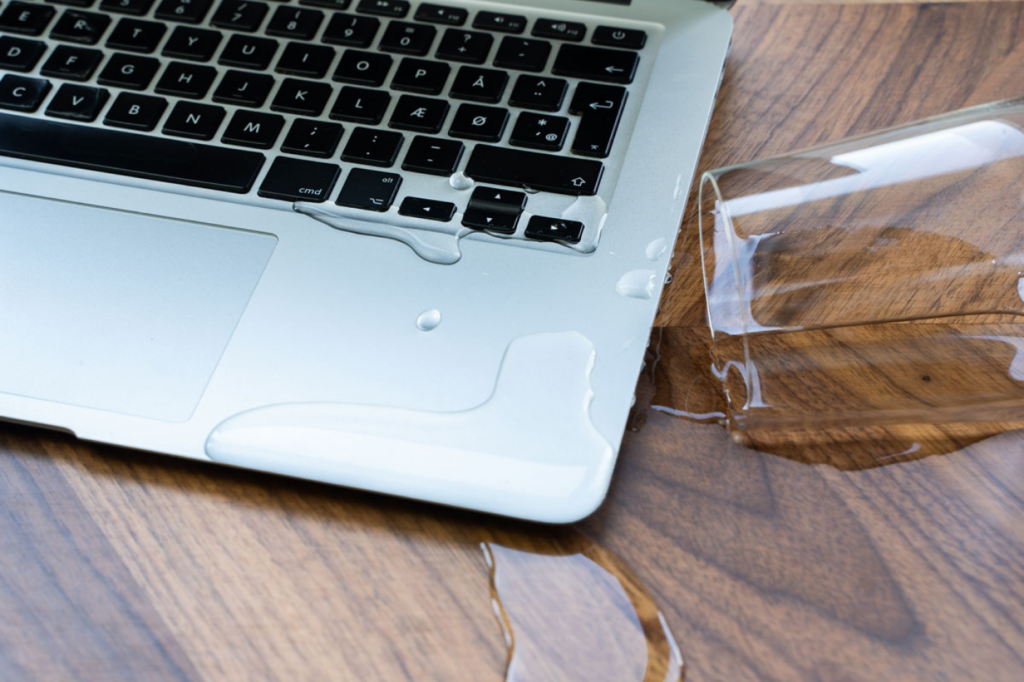
Before attempting to remove the water patch, ensure you take necessary precautions to avoid causing any further damage.
Power Off
Turn off your laptop immediately to prevent potential short circuits or internal component damage. Make sure it’s powered down completely.
Disconnect
Unplug your laptop from any power source, and remove all connected peripherals, such as chargers, USB devices, or external hard drives.
Remove Battery
If your laptop has a removable battery, take it out. This step is vital in minimizing the risk of electrical damage. However, if your laptop has an integrated battery, skip this step.
Open the Laptop
Carefully open your laptop to access the screen. Follow expert guidelines to avoid causing any damage to the screen or other internal components.
Step 2: Place Your Laptop in a Container with Rice
Using rice is a well-known method to absorb moisture and help dry out a cloud water patch inside your laptop screen. Here’s how you can do it:
Choose a Container
Select a container large enough to accommodate your laptop comfortably. A plastic bucket or a large bowl works best for this purpose.
Fill with Rice
Pour uncooked rice into the container until it forms a layer at the bottom. Ensure there is enough rice to cover the laptop entirely, as it will absorb moisture from the screen.
Place Laptop on Rice
Carefully place your laptop on top of the rice layer, ensuring it’s fully submerged. The rice will help absorb moisture from the laptop’s interior, as well as the cloud water patch inside the screen.
Seal the Container
Cover the container with a lid or plastic wrap to create a sealed environment. This will help enhance the moisture-absorbing effect of the rice.
Let It Sit
Leave the laptop in the rice for at least 24 hours. This gives the rice ample time to absorb the moisture effectively and eliminate the cloud water patch.
Step 3: Check Your Laptop
After 24 hours, it’s time to check whether the water patch has been successfully removed. Here’s how you should proceed:
Remove Laptop from Rice
Carefully remove the laptop from the rice container, ensuring no rice grains enter the device.
Inspect the Screen
Closely examine the screen to determine whether the cloud water patch has diminished or disappeared. If the patch is still visible, you might need professional assistance from a trusted laptop repair service.
Power On
Once you’re confident that the laptop is dry and the patch is gone, attempt to power it on. If the laptop turns on without any issues and the screen functions properly, this is a good sign that the patch has been successfully removed.
Monitor for Signs of Damage
Keep an eye on your laptop over the next few days to ensure there are no lingering signs of damage. If any abnormalities or malfunctions appear, seek professional help.
Conclusion
Removing a cloud water patch from your laptop screen requires patience and careful handling, but it is possible with the right approach. By following these steps, you can effectively eliminate the patch and restore your laptop’s screen. If you find that the issue persists, seek professional assistance from a trusted service provider like GadgetFix.
If you have any doubts or need further assistance, don’t hesitate to reach out to GadgetFix for expert laptop repair services.
Also Read : How to Repair a Phone LCD Screen Without Replacing It: Simple DIY Solutions