Water damage is one of the most common and severe problems that smartphone users face. While many newer Samsung phones come with built-in water resistance, it’s important to know that this feature has limitations. If your phone encounters water damage, quick action can help prevent major repairs or the need for a replacement. This guide will walk you through how to remove water from your Samsung phone and prevent long-term issues.
Assess the Severity of Water Damage
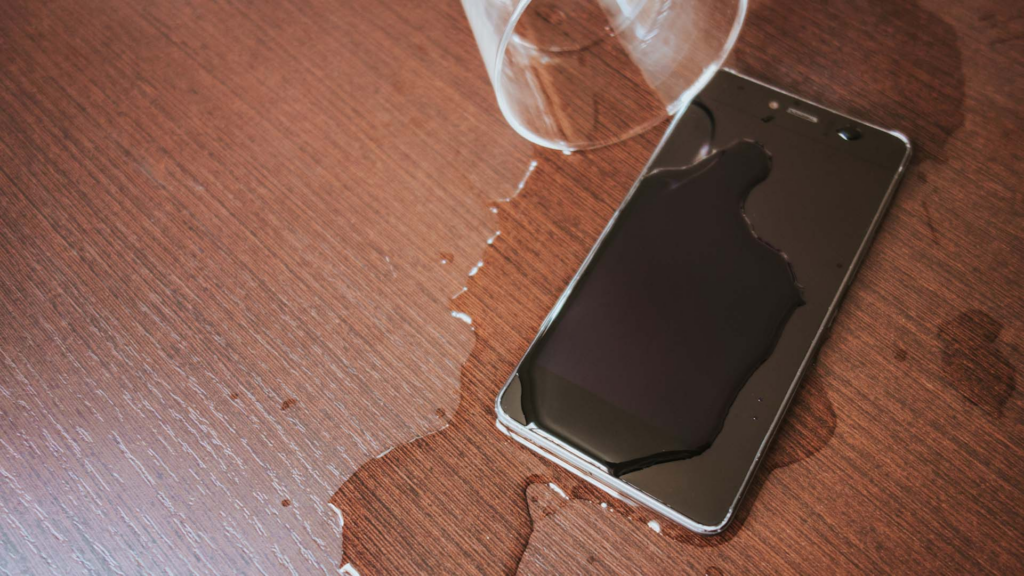
Before attempting to remove water from your Samsung phone, it’s crucial to determine the severity of the damage. Look for signs like corrosion, rust, or water stains. If the phone has been submerged for an extended period or shows extensive damage, it’s best to consult a professional.
3 Steps to Remove Water from Your Samsung Phone
1. Immediate Actions
- Turn off the Phone: The first step is to immediately turn off your phone. Shutting down your device helps prevent any short circuit or internal damage.
- Remove Protective Case and Accessories: Take off any protective case or cover to allow better airflow and avoid moisture being trapped inside.
- Remove the SIM and SD Cards: Eject your SIM and microSD cards to prevent corrosion and protect your data.
2. Drying the Phone
- Gently Wipe the Exterior: Use a soft, lint-free cloth to wipe down the exterior of the phone, especially around the ports and crevices.
- Avoid Heat Sources: Never use a hair dryer, microwave, or oven to dry your phone. High temperatures can damage the internal components.
- Use Silica Gel: Place your phone in an airtight bag with silica gel packets. These can absorb moisture and help dry your phone effectively.
- Use a Vacuum Cleaner: If available, use a vacuum cleaner on a low setting to remove moisture from your phone’s crevices.
3. Check After Drying
- Check for Visible Moisture: Leave your phone to dry in a well-ventilated area for 24-48 hours, then check for any remaining moisture inside.
- Power On the Phone: Once you’re sure the phone is dry, power it on and test all the functions, including the touchscreen, camera, microphone, and speakers.
- Test Charging: If the phone won’t charge, make sure the charging port is completely dry before attempting to plug in the charger.
What to Do if the Phone Doesn’t Turn On
- Try Charging the Phone: Charge your phone for a while as the battery might have drained during the drying process. Make sure to use the original charger and cable.
- Backup and Restore: If your phone is unstable, back up your data using Samsung’s Smart Switch or any backup method to avoid data loss.
- Seek Professional Help: If none of the above methods work, contact a certified technician or repair service for professional help.
Conclusion
Knowing how to remove water from your Samsung phone is crucial for preserving its functionality. If water damage occurs, act quickly to turn off the phone, dry it properly, and test its functionality. For persistent issues, seek professional help to ensure your phone is thoroughly repaired.
Also Read : Apple Resolves Critical Zero-Day Vulnerability Affecting All Devices with Latest Update