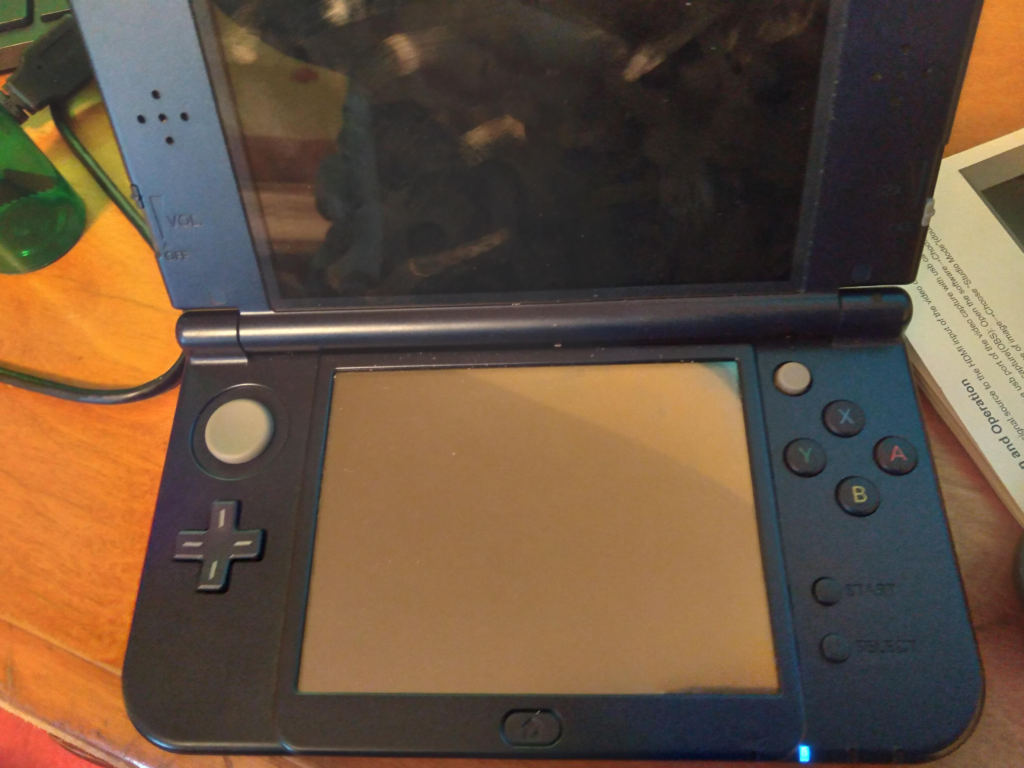
If your Nintendo 3DS turns on with the blue light showing but the screen remains black, it can be quite frustrating, especially if you have Custom Firmware (CFW) installed. This issue can be caused by several factors, including CFW corruption, firmware problems, or hardware malfunctions. Here’s a step-by-step guide to troubleshoot and resolve the problem.
Basic Troubleshooting Steps
Before diving into advanced fixes, try these basic steps to rule out common causes:
- Check the Screen Brightness: Make sure the screen brightness is set to a visible level. You can adjust this by using the brightness buttons on the 3DS, depending on your model.
- Remove the SD Card: Sometimes, the SD card can cause issues with booting. Power off your 3DS, remove the SD card, and turn the system back on to see if the screen displays correctly.
- Check for Hardware Issues: Inspect your 3DS for any signs of physical damage or loose connections, especially around the screen and power buttons.
For additional troubleshooting steps related to screen issues, you can visit Nintendo’s support page.
Fixing the Black Screen with Custom Firmware (CFW)
If you have CFW installed, the issue might be caused by a corrupted firmware or a problem with the boot process. Here’s how to fix it:
For SafeBoot/CTRTransfer Recovery:
- Prepare Your SD Card: Download the appropriate recovery files for SafeBoot or CTRTransfer, which are tools that can help recover the system firmware on your 3DS.
- Insert the SD Card into Your 3DS: Place the prepared SD card into your 3DS.
- Boot into Recovery Mode: Press and hold the L, R, A, Start, and Select buttons simultaneously when turning on the 3DS to enter recovery mode.
For more details on SafeBoot and CTRTransfer, refer to this 3DS recovery guide.
Restoring from a NAND Backup:
If you have a NAND backup, you can restore it to fix the issue of the black screen.
- Enter GodMode9: Hold down the Start button while turning on your 3DS to boot into GodMode9.
- Restore the NAND Backup: In GodMode9, select the Restore NAND option and follow the prompts to restore your system’s firmware.
For more information on using GodMode9 to restore NAND, refer to this GodMode9 guide.
Using Luma3DS Recovery Mode

If you’re using Luma3DS as your CFW, it’s possible that a configuration issue is causing the black screen. You can enter Luma3DS recovery mode to attempt a fix:
- Hold the Select Button: While powering on the 3DS, hold down the Select button to access the Luma3DS configuration menu.
- Disable Features Like Screen Dimmer or Auto-Brightness: If enabled, these features might be causing the black screen issue. Toggle them off and see if the display returns.
For more guidance on Luma3DS recovery, you can check out the Luma3DS wiki.
Reinstalling Custom Firmware (CFW)
If none of the above methods work, you might need to reinstall CFW on your 3DS. Be sure to follow the steps carefully to avoid bricking your system. To reinstall CFW, you can follow the detailed instructions from 3DS Hacks Guide.
Booting in Safe Mode
In some cases, booting the 3DS in Safe Mode can help resolve display issues caused by corrupt software or settings:
- Power Off the 3DS: Turn off the 3DS completely.
- Enter Safe Mode: Hold down the Power button and Start button simultaneously while powering on your 3DS.
- Select “Change Resolution”: This option will force the system to reset the display resolution to 480p, which can often fix screen issues.
For more about Safe Mode and other recovery options, check out this Safe Mode guide.
Conclusion
If your 3DS is showing the blue light but has a black screen, it’s most likely a software issue related to CFW or a firmware problem. By following these troubleshooting steps, you should be able to resolve the issue. If the problem persists, you may need to seek help from the 3DS community or a professional repair service.
Also Read : Installing a Mac SSD into an OWC Envoy Pro Enclosure: A Step-by-Step Guide


