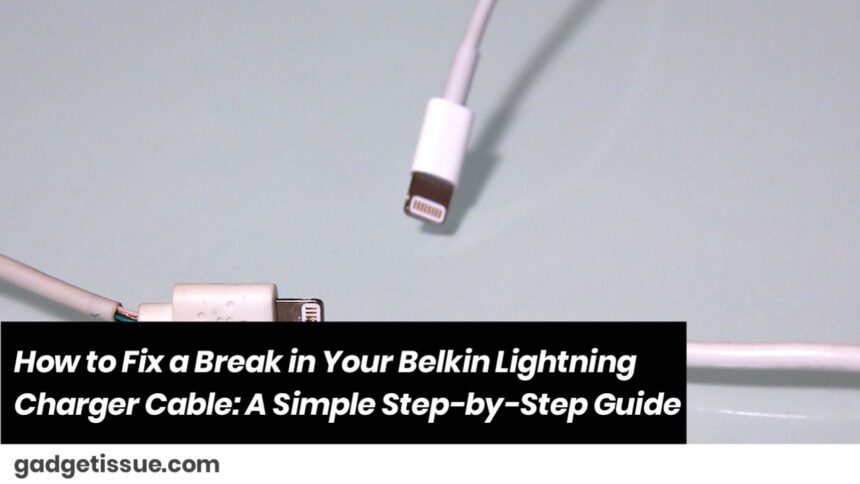
If you’ve ever dealt with a frayed or broken Belkin Lightning charger cable, you know how frustrating it can be. Suddenly your charging stops working, or the cable becomes unsafe to use. But before you rush to buy a new one, you might be surprised to know that fixing a broken cable at home is often possible with just a little patience and a few simple tools. Let’s dive into how you can repair your Belkin Lightning charger cable and get it back to working condition without too much hassle.
What You’ll Need
- Electrical tape or heat shrink tubing
- A pair of wire strippers or a sharp knife (be careful!)
- Soldering iron and solder (optional but recommended for a stronger repair)
- A lighter or heat source (if using heat shrink tubing)
- Patience and steady hands!
Step 1: Identify the Damaged Spot
First, find exactly where the cable is broken or frayed. Usually, breaks happen near the ends—either close to the Lightning connector or the USB plug. Gently bend the cable along its length and see where the wires don’t hold shape or where the outer insulation looks cracked or worn.
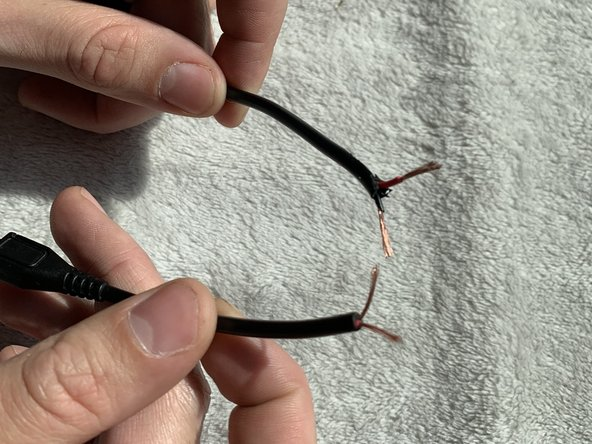
Step 2: Cut Out the Damaged Section
Once you’ve found the broken part, carefully cut out the damaged section using wire strippers or a sharp knife. Don’t cut too much—just enough to remove the faulty part and expose clean wire on both ends.
Step 3: Strip the Wires
Inside the cable, you’ll find several tiny wires, usually color-coded. Using your wire strippers, remove about half an inch of the outer insulation from each wire to expose the metal strands. Be gentle; you don’t want to nick the wires.
Step 4: Twist and Solder the Wires (Recommended)
Match the wires by color on each side, twist them together tightly, and if you have a soldering iron, solder the connections for a solid, long-lasting fix. This step isn’t mandatory but will make your repair much more durable.
Step 5: Insulate Each Wire
Wrap each soldered wire carefully with electrical tape or cover it with a small piece of heat shrink tubing. This prevents short circuits and protects the wires.
Step 6: Wrap the Whole Cable
After insulating individual wires, wrap the entire repaired section with electrical tape or a larger heat shrink tube to give it strength and keep everything together.
A Few Tips to Keep in Mind
- If you don’t have soldering tools, twisting wires tightly and taping well can still work as a temporary fix.
- Always unplug the cable before attempting any repairs to avoid electric shock or damage.
- If the break is very close to the connector and you’re not confident in fixing it, sometimes it’s safer and easier to replace the entire cable.
- Handle the cable gently after the repair to prolong its life.
Final Thoughts
Fixing a broken Belkin Lightning cable isn’t rocket science—it’s mostly about being careful and precise. With some basic tools and patience, you can save money and extend the life of your charger. Just remember to take your time and double-check your work before plugging it back in. If you want, I can also guide you on how to prevent cable damage in the future or suggest the best replacement options if a fix isn’t feasible. Just let me know!
Also Read : How to Double Your Phone Battery Life


