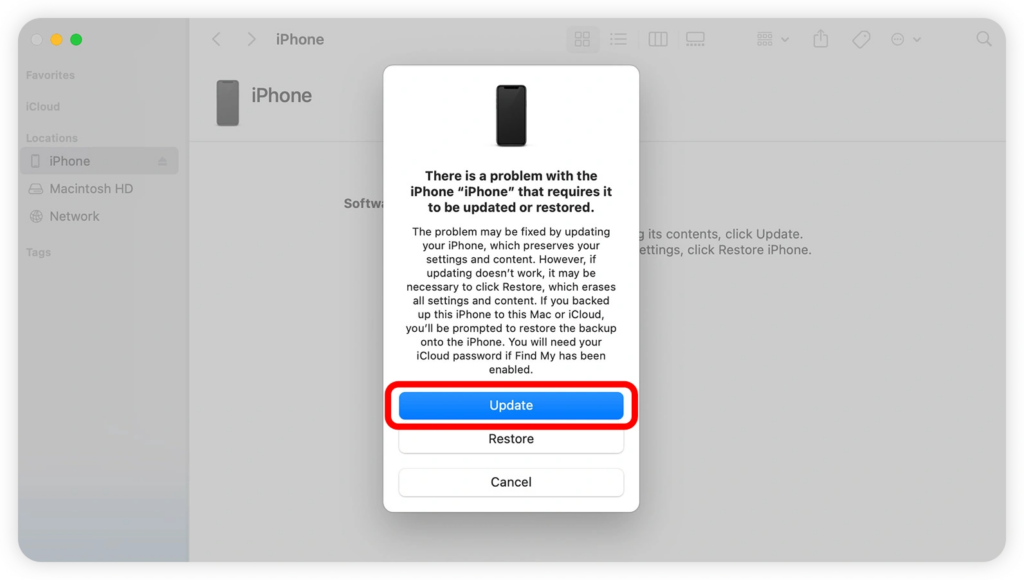
iTunes Error 9 is a common issue that occurs during an iOS update or restore process. It can result from hardware problems, software glitches, or connectivity issues. For a detailed explanation of this error, visit Apple Support. This guide will walk you through step-by-step solutions to resolve this error and restore your device successfully.
1. Check Your USB Connection
One of the most common causes of iTunes Error 9 is a faulty USB connection. Ensure the following:
- Use an original Apple-certified USB cable.
- Try a different USB port on your computer.
- Avoid using USB hubs or extensions.
- If possible, try connecting your device to another computer.
2. Restart Your Device and Computer
A simple restart can often fix temporary glitches. Follow these steps:
- Restart your iPhone or iPad by holding down the power button and following the on-screen prompts.
- Restart your computer and relaunch iTunes.
3. Update iTunes to the Latest Version
An outdated version of iTunes may cause Error 9. To update:
- Open iTunes and navigate to Help > Check for Updates (Windows) or iTunes > Check for Updates (Mac).
- If an update is available, install it and try restoring your device again.
Learn more about iTunes updates from MacRumors.

4. Disable Security Software
Sometimes, firewall or antivirus software may interfere with the connection between iTunes and Apple’s servers. Try the following:
- Temporarily disable your security software.
- Add iTunes to the list of exceptions in your firewall settings.
- Restart iTunes and attempt the restore again.
For additional guidance, visit Tenorshare.
5. Put Your Device into DFU Mode
If standard troubleshooting doesn’t work, try putting your iPhone into Device Firmware Update (DFU) mode:
- Connect your iPhone to the computer and open iTunes.
- Force restart the device:
- On iPhones with Face ID: Press and quickly release Volume Up, then Volume Down, then hold the Power button until the screen turns black.
- On iPhone 7/7 Plus: Hold Power + Volume Down for 10 seconds, then release Power but keep holding Volume Down until iTunes detects the device.
- On iPhone 6s or earlier: Hold Power + Home button for 10 seconds, then release Power but keep holding Home until iTunes detects the device.
- Follow the on-screen instructions to restore your device.
6. Contact Apple Support
If none of the above solutions work, your device may have a hardware issue. Visit an Apple Store or contact Apple Support for professional assistance.
Conclusion
iTunes Error 9 can be frustrating, but with these troubleshooting steps, you can resolve it effectively. Start with basic checks like USB connections and software updates, and if necessary, proceed to DFU mode. If the problem persists, seeking professional help from Apple is the best course of action.
Also Read : How to Safely Remove Keycaps from a MacBook Keyboard


