By using this site, you agree to the Privacy Policy and Terms of Use.
Accept

Gadget Issues

Fix Your Gadgets

  • About Us
  • How to Fix
  • Error Fix
  • Tutorial
  • Tech News
Search
© 2022 Foxiz News Network. Ruby Design Company. All Rights Reserved.
Reading: How to Repair a Charger Cord
Share
Sign In
Notification Show More
Font ResizerAa

Gadget Issues

Fix Your Gadgets

Font ResizerAa
  • About Us
  • How to Fix
  • Error Fix
  • Tutorial
  • Tech News
Search
  • About Us
  • How to Fix
  • Error Fix
  • Tutorial
  • Tech News
Have an existing account? Sign In
Follow US
© 2022 Foxiz News Network. Ruby Design Company. All Rights Reserved.
Gadget Issues > Blog > How to Fix > How to Repair a Charger Cord
How to Fix

How to Repair a Charger Cord

Intern
Last updated: April 15, 2025 7:23 am
Intern
Share
3 Min Read
SHARE

Repairing a charger cord depends on the type of damage, but here’s a general step-by-step guide to help you safely fix a frayed or broken charger cord (like a USB or laptop charger). Always unplug the charger before attempting any repair.

Things You’ll Need:

  • Electrical tape or heat shrink tubing
  • Scissors or wire cutter/stripper
  • Soldering iron (optional, but ideal for a permanent fix)
  • Multimeter (optional, to test continuity)
  • Lighter or heat gun (if using heat shrink tubing)
  • Replacement wire/connector (if the damage is serious)

How to Repair a Frayed or Cut Charger Cable:

1. Identify the Damage
Look for frayed insulation, exposed wires, or spots where the cable is bent or broken. Check if the charger only works when twisted or bent — that’s a sign of internal wire damage.

2. Cut and Strip the Cable
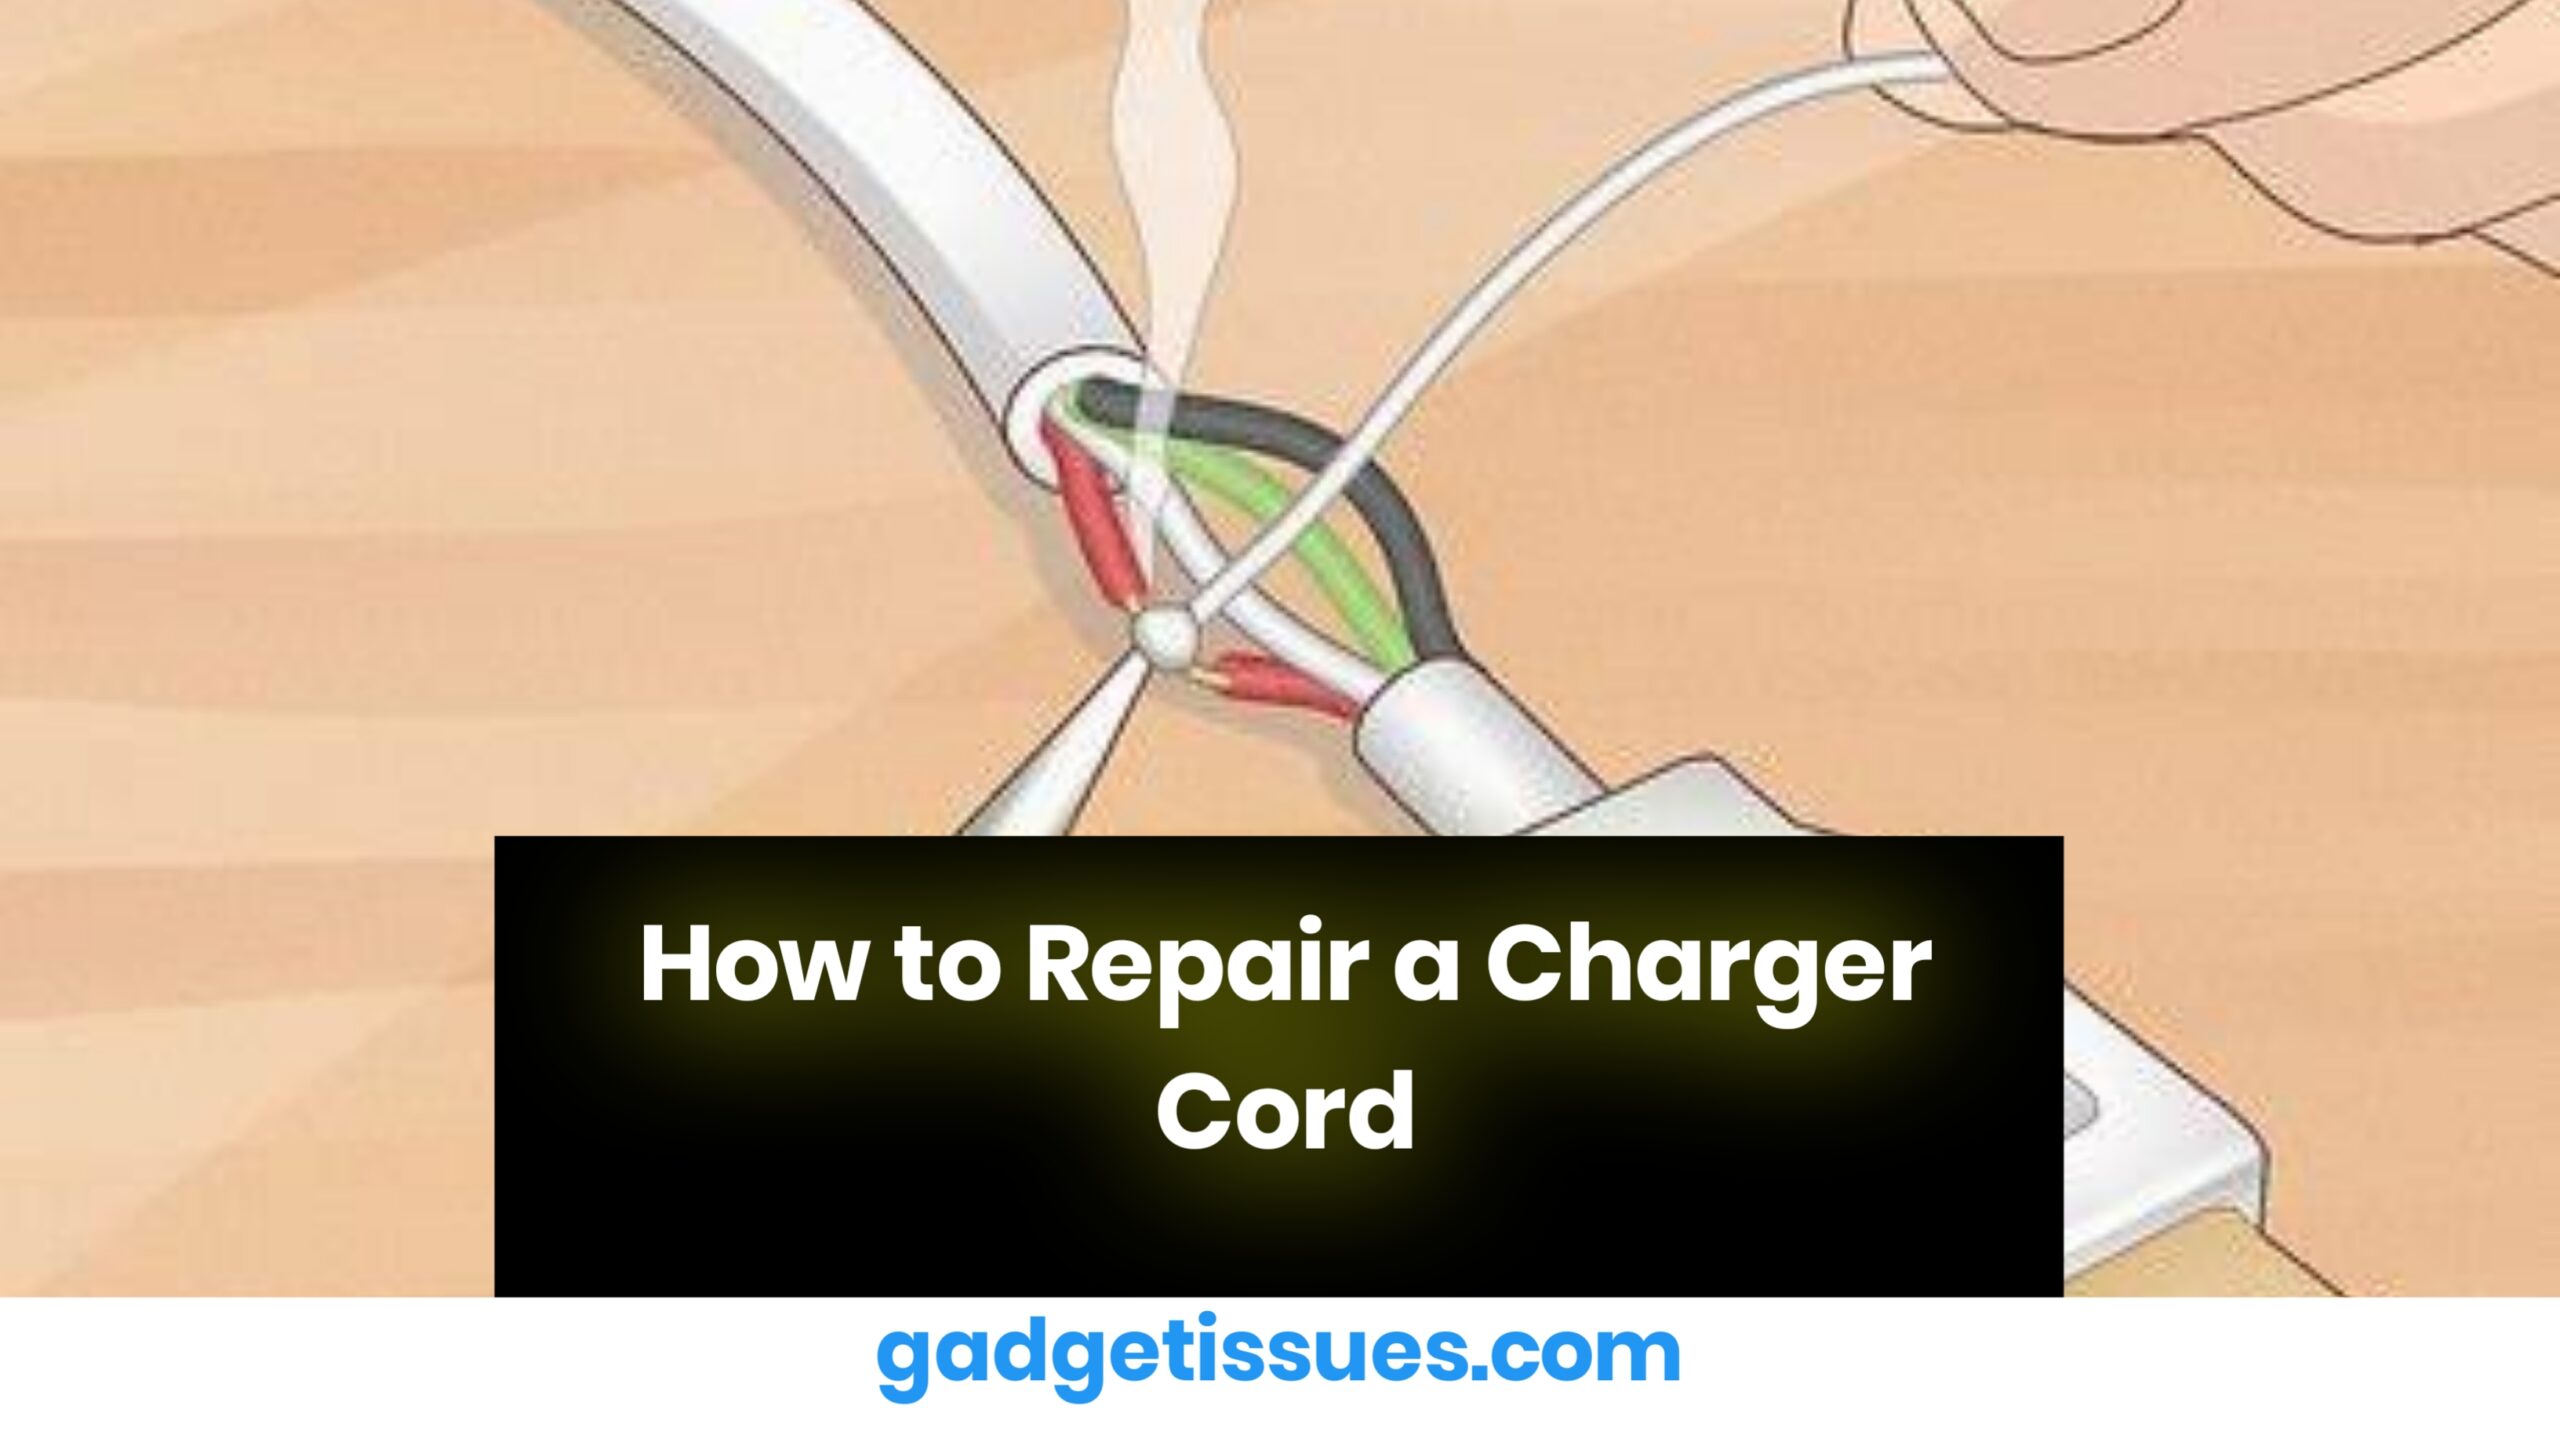
Use scissors or a wire cutter to cut out the damaged portion of the cord. Carefully strip about 1 inch of outer insulation on both ends. Inside, you’ll usually see 2 to 4 smaller wires (e.g., red, black, green, white for USB). Strip about 0.5 inch of insulation from these smaller wires too.

3. Match and Twist Wires Together
Match colors (e.g., red to red, black to black). Twist each matching wire pair tightly together. (Optional but recommended) Solder the connections for a stronger bond.

4. Insulate Each Wire
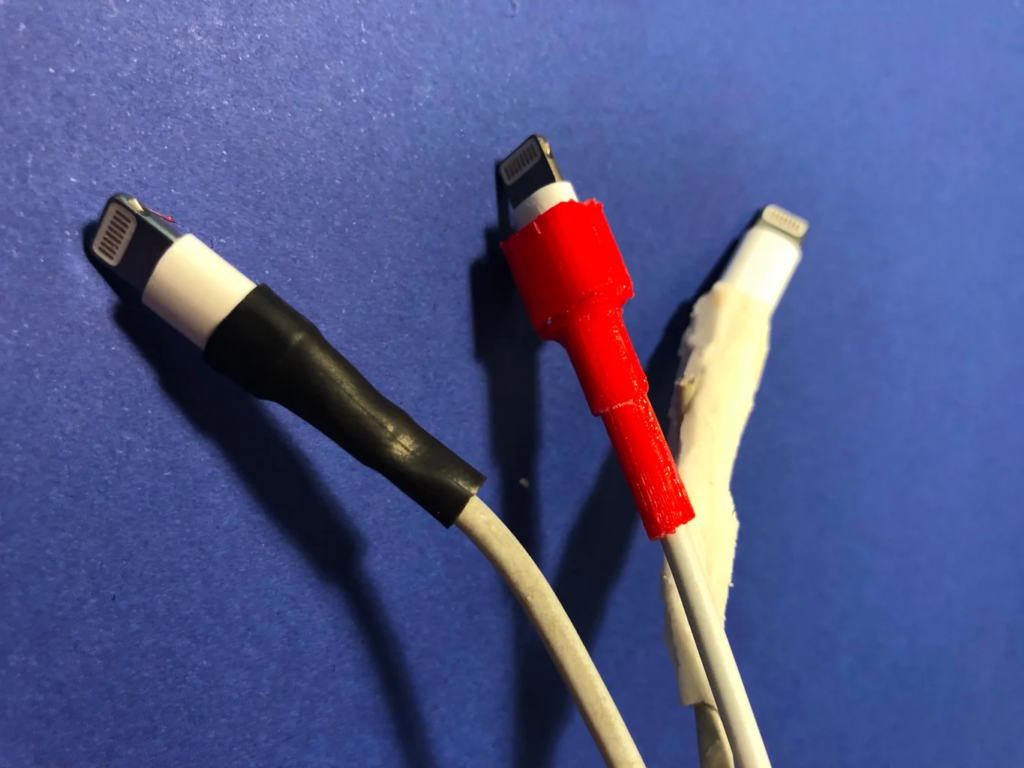
Wrap each twisted pair with electrical tape individually to prevent short circuits. Then wrap the whole cable section again with more electrical tape. If using heat shrink tubing, slide it over before reconnecting wires, and then heat it to shrink over the repaired area.

5. Test the Cable
Plug the charger into a low-value device or a USB tester to check if it’s working safely. If it charges normally, your repair was successful.

Tips & Safety Notes:

  • If the connector or plug is damaged (like a broken USB or lightning tip), it’s better to replace the end entirely or buy a new cord.
  • Use quality electrical tape or heat shrink tubing to ensure durability and safety.
  • Avoid using the charger while it’s damaged — it can be a fire hazard.

Also Read : How to Fix a Computer That Freezes at the Slightest Movement

You Might Also Like

How to Fix Scratched Gorilla Glass: A Detailed Guide

How to Fix a Slightly Cracked Screen: A Complete Guide

How to Fix or Replace a Faulty Headphone Jack

Quick Fix: Repairing Broken Plastic on Your Keyboard Edge

How to Fix Double Image on Smart LED TV

TAGGED:Cost-Effective Alternatives to ReplacementFixing Damaged Charging CablesIdentifying Frayed Wires or BreaksPreventing Future DamageSafely Splicing and InsulatingSimple DIY SolutionsTools and Materials Needed
Share This Article
Facebook Twitter Copy Link Print
Share
Previous Article Samsung Phone Shows Lightning Bolt But Not Charging? Here’s How to Fix It
Next Article How to Disassemble a Speaker to Repair the Charger Port

Latest News

How to Repair a Loose or Unresponsive Power Button (Smartphones, Laptops, Remotes)
How to Fix
HP Laptop Keyboard Not Working After Water Spill: How To Fix
How to Fix
Why Laptop Batteries Can’t Get Any Bigger (For Now)
How to Fix
How To Fix Sticky Keyboard Keys on a MacBook
How to Fix
//

“Struggling with slow internet or other gadget problems? Our blog offers step-by-step solutions to common tech issues, helping you troubleshoot and resolve problems quickly and efficiently.”

Quick Link

  • Contact Us
  • Privacy Policy
  • Terms and Conditions
  • Cookie Policy
  • Disclaimer

Read Categories

  • Error Fix
  • How to Fix
  • Tech News
  • Technology
  • Tutorial
  • Uncategorized

Find Us on Socials

Follow US
© 2025 Gasgetissues. All Rights Reserved.
Welcome Back!

Sign in to your account


Lost your password?