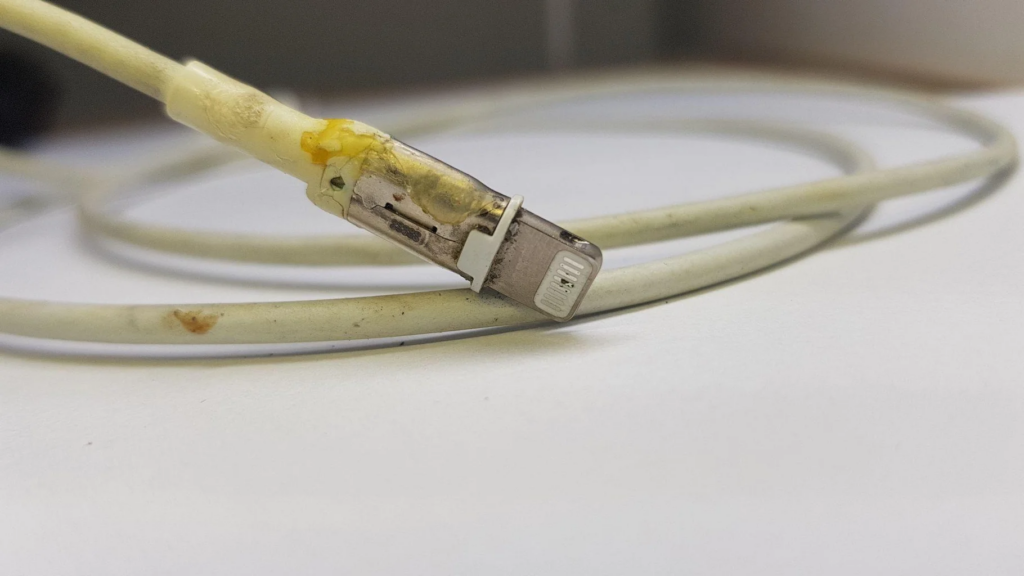
A frayed Dell AC adapter cable can be dangerous — it may cause sparks, short circuits, or even damage your laptop. Instead of replacing the entire charger immediately, you can repair minor wear and tear at home with some basic tools and caution. This guide explains how to safely fix a frayed cable.
What You’ll Need
- Electrical tape or heat shrink tubing
- Scissors or wire cutters
- Soldering iron (optional for better results)
- Multimeter (for testing)
Step-by-Step Repair Guide
- Unplug Everything
Before starting, disconnect the adapter from both the wall socket and the laptop. Let it sit for a few minutes to discharge any remaining power. - Inspect the Damage
Check how deep the fray goes. If only the outer insulation is damaged, it’s an easy fix. If the internal wires are exposed or broken, you’ll need to . - Trim and Strip
If the wire is badly damaged, cut out the frayed section using wire cutters. Then strip about half an inch of insulation from both ends of the cut cable using a wire stripper. - Reconnect Wires
Twist the corresponding wires together and either solder them or use wire connectors. For durability, it’s best to solder the wires and wrap them with electrical tape or heat shrink tubing. - Secure the Repair
Once reconnected, cover the joint with or multiple layers of high-quality. Make sure there’s no exposed wire. - Test the Charger
Plug the adapter into a power strip (preferably with surge protection) and check the output using a multimeter. Then, try charging your laptop to confirm the repair.
Safety Tips
- Always work in a dry area.
- Do not attempt repair if the adapter shows signs of burning, melting, or a chemical smell.
- If you’re not confident, it’s better to replace the adapter completely.
This repair method is cost-effective, eco-friendly, and surprisingly easy with a little patience. For long-term reliability, always keep an eye on any signs of wear in your charging cables.
Also Read : PS5 Cooling System Maintenance: A Step-by-Step Disassembly and Cleaning Guide