A loose or non-working power button can make your device frustrating or even unusable. This guide will walk you through how to diagnose and fix the issue, step by step, depending on the type of device you’re working with.
Tools You May Need
- Precision screwdriver set (Phillips, Torx, flathead)
- Plastic prying tools or guitar pick
- Tweezers
- Cotton swabs
- Isopropyl alcohol (90% or higher)
- Replacement power button or flex cable (if required)
- ESD mat or anti-static wrist strap (optional but recommended)
Smartphones/Tablets
Step 1: Power Down the Device
If the power button is only loose (but still works), hold it down and power off the phone. If it doesn’t work at all, let the battery drain.
Step 2: Open the Device
- Remove the SIM card tray and any external casing.
- If your phone has a removable back, take it off. For sealed phones, use a heat gun or hair dryer around the edges for 30 seconds to soften adhesive.
- Gently insert a plastic pry tool and slide around the edges to lift the screen or back panel.
Step 3: Locate the Power Button Assembly
- Find the internal switch the external button presses against.
- Check if the button cap has shifted or if the flex cable has disconnected.
Step 4: Clean and Re-seat Components
- Use a cotton swab dipped in isopropyl alcohol to clean dust or sticky residues.
- Ensure the flex cable is connected securely to the motherboard.
- If the rubber pad under the button is worn out or missing, replace it or use a soft adhesive pad to improve contact.
Step 5: Replace Damaged Components (if necessary)

- Order a compatible replacement flex cable or power button component.
- Unscrew and remove the old part, then screw in and connect the new one.
Step 6: Reassemble and Test
Carefully reassemble the phone, snap everything into place, and power it on.
Laptops
Step 1: Power Off and Unplug
Shut down the laptop, unplug the charger, and remove the battery (if removable).
Step 2: Disassemble the Laptop
- Unscrew the back panel using a precision screwdriver.
- Carefully lift the keyboard or top cover depending on your laptop’s design.
Step 3: Check the Power Button Board
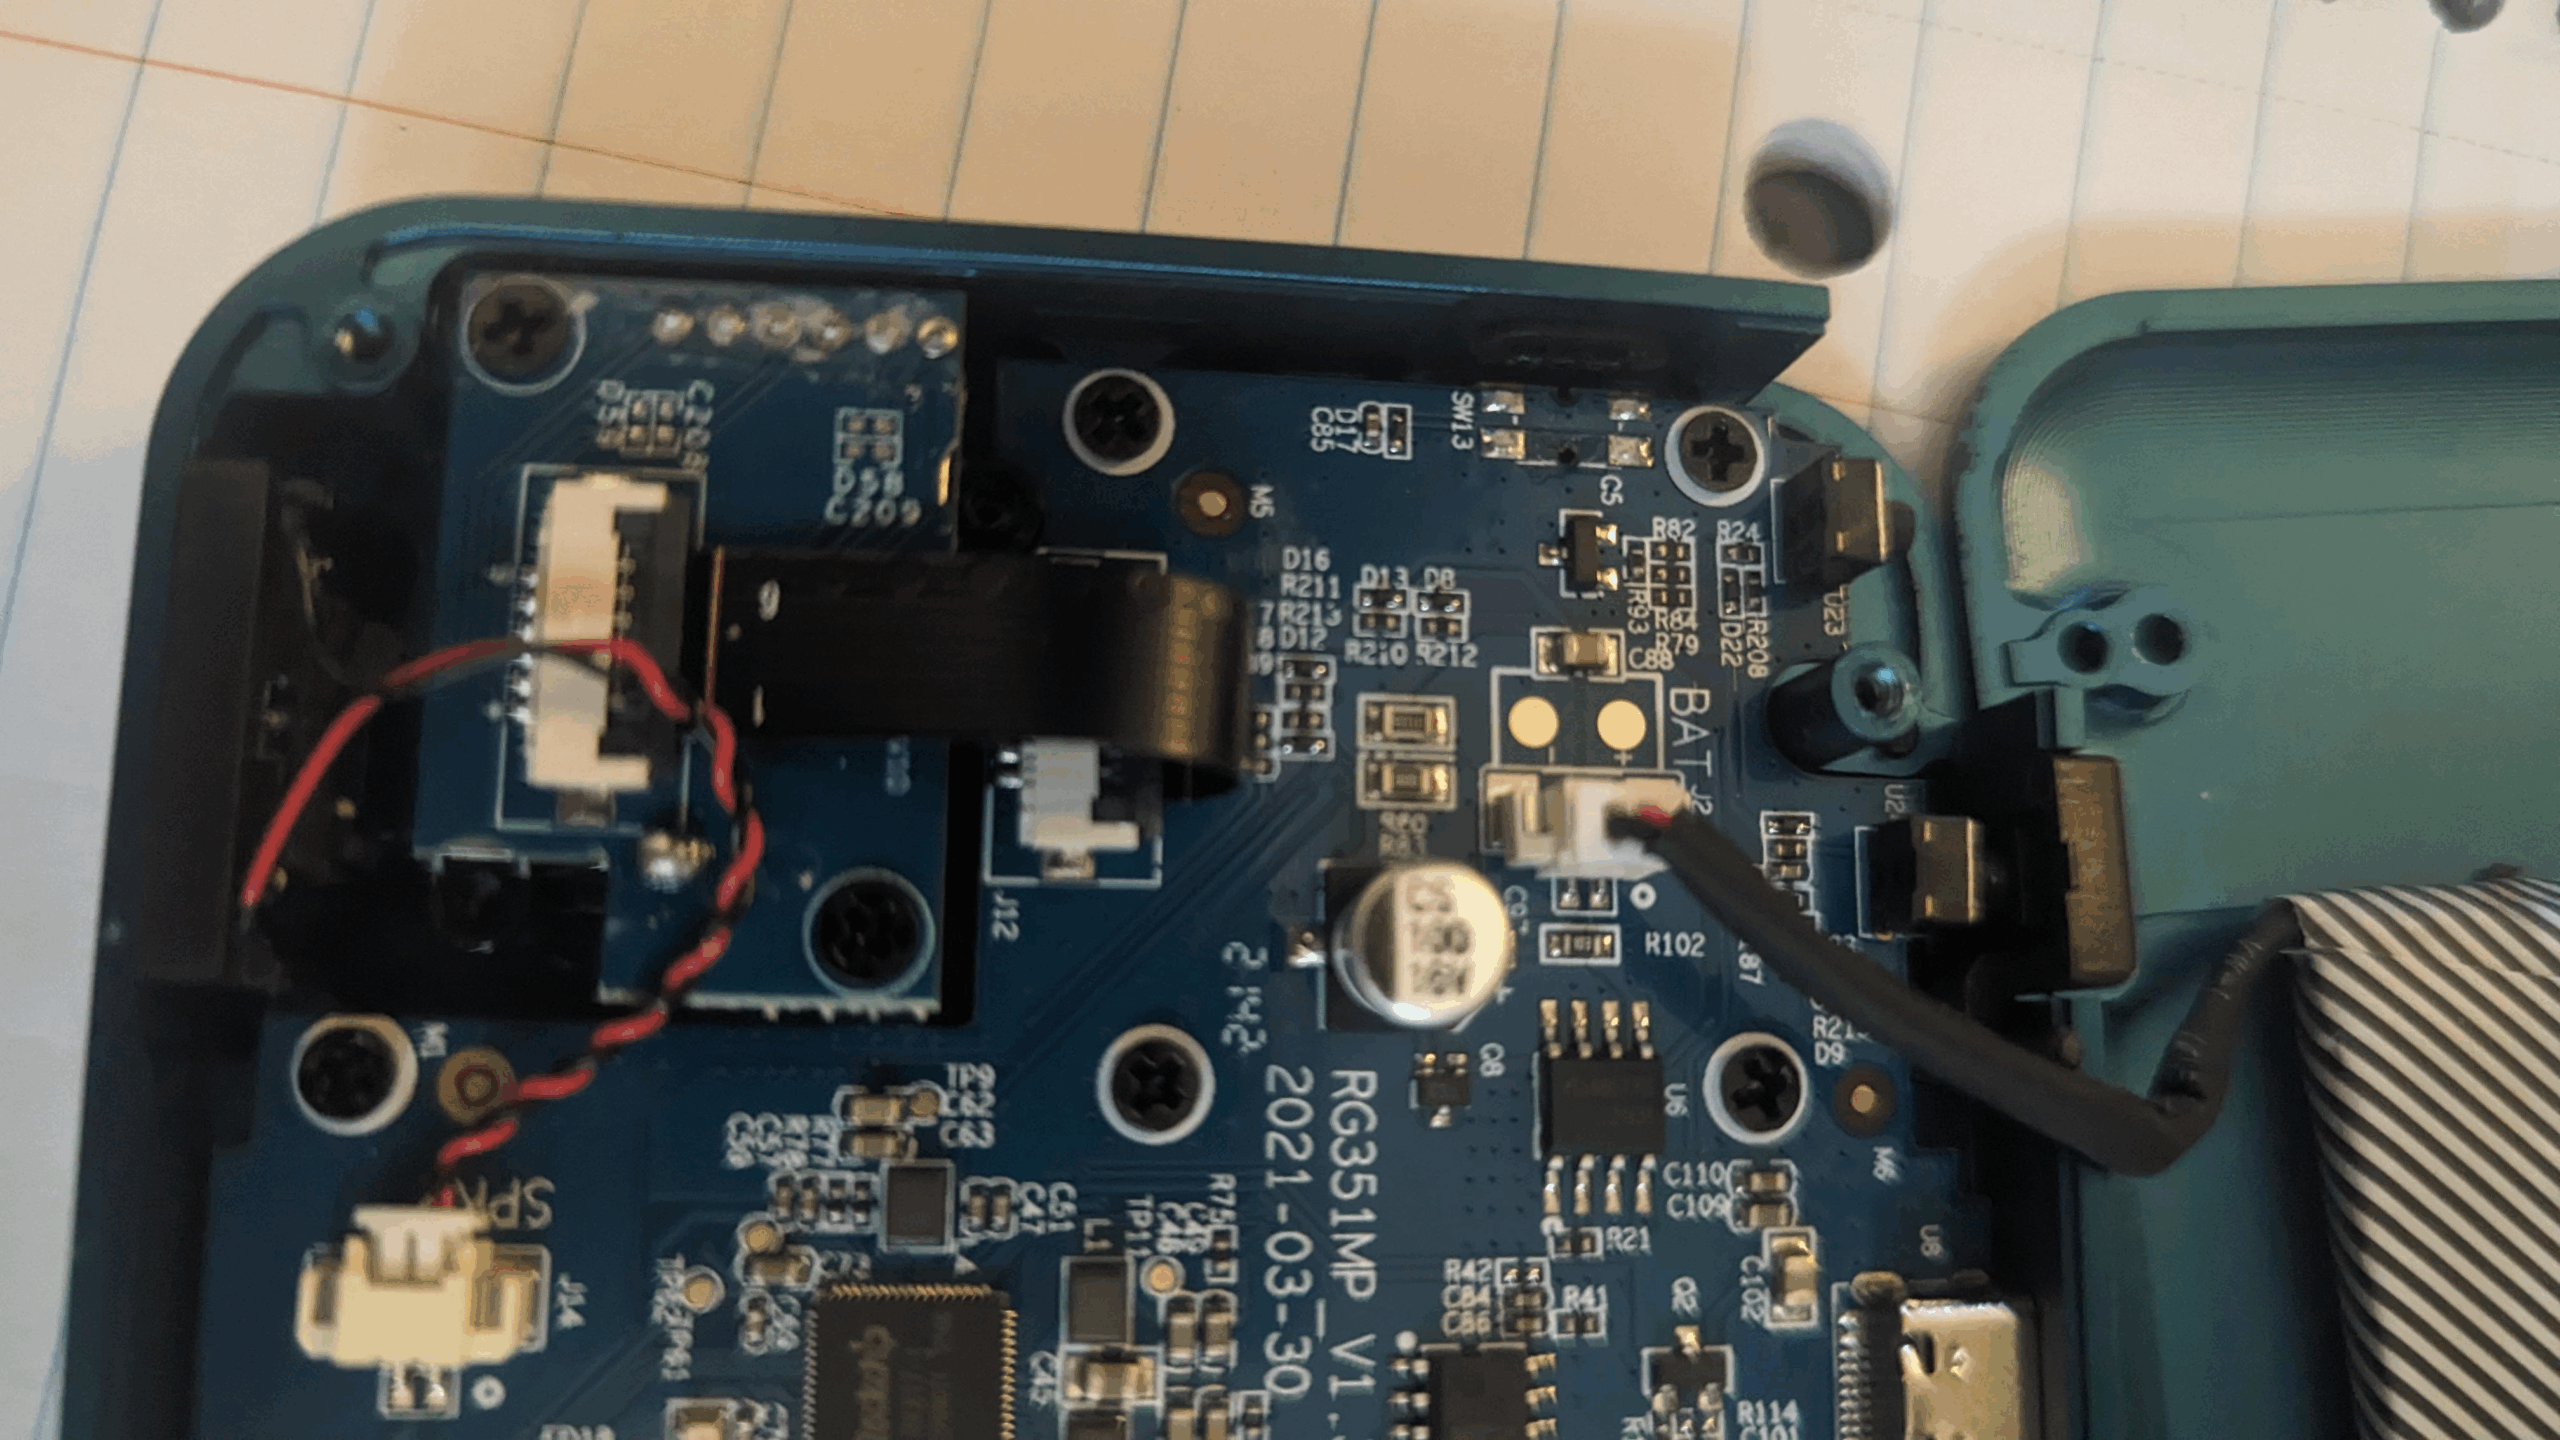
- Many laptops have a small separate board for the power button.
- Ensure its ribbon cable is properly inserted into the motherboard.
Step 4: Clean or Replace
- Clean around the button using a swab and alcohol.
- If broken, replace the button board or the top shell that includes the button mechanism.
Step 5: Reassemble and Test
Screw everything back in place, reattach the battery, and power on the laptop.
TV Remotes, Game Controllers
Step 1: Open the Device
Use a screwdriver to remove screws under the battery cover. If no screws are visible, the case might be held together by clips—use a plastic prying tool.
Step 2: Inspect Button Pads
- Most remotes use a rubber membrane under the buttons.
- Check for worn-out rubber or broken plastic guides.
Step 3: Clean and Repair
- Wash the rubber membrane with warm water and soap.
- Use alcohol to clean the board beneath the power button.
- If the rubber dome is broken, you may need to glue a new conductive pad or replace the rubber mat.
Step 4: Reassemble and Test
Once clean and dry, snap or screw everything back together and test with fresh batteries.
Tips & Warnings
- Always work on a clean, static-free surface.
- Keep track of all screws and parts using a container or tray.
- Be careful not to apply too much force when reassembling the device to avoid damaging other components.
- If unsure about replacement parts, consult the manufacturer or a professional technician.
This guide provides a general approach to fixing loose or unresponsive power buttons. Each device may have slight variations in the design or repair process, so refer to your device’s manual or manufacturer for specifics.
Also Read : DIY Guide: How to Fix a Broken Headphone Jack


