Fixing water damage on a TV can be tricky, and it’s important to proceed with caution, as there’s a risk of causing further damage if done incorrectly. Here are the steps you can take:
Contents
1. Power Off and Unplug
- Immediately turn off the TV and unplug it from the power source to avoid any electrical hazards.
- If the TV was powered on when it got wet, you risk damaging internal components, so be sure it is completely powered off.
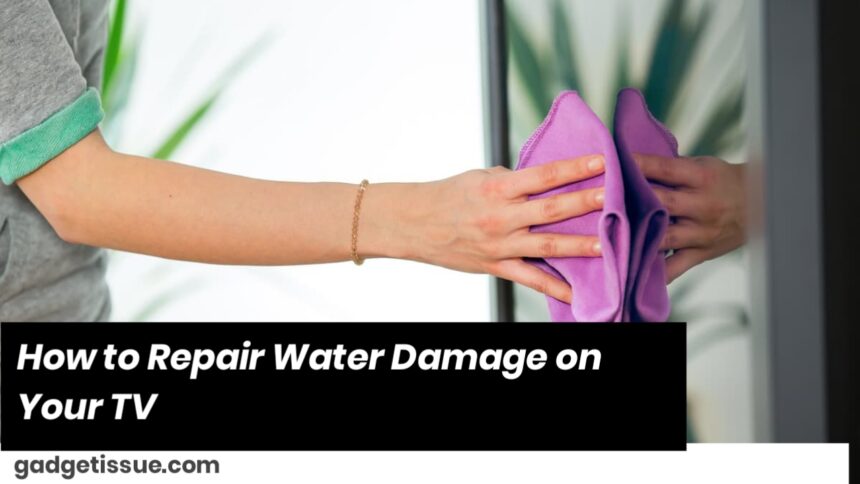
2. Dry the Exterior
- Use a soft, dry cloth to wipe the TV’s exterior.
- Avoid using any harsh chemicals or abrasive materials.
- Do not use a hairdryer or heat gun directly on the TV, as high heat can cause more damage to internal components. You can, however, use a fan to gently dry the TV.
3. Disassemble (if possible)
- If you are comfortable doing so and it’s safe, open the back panel of the TV (if it’s not under warranty) to allow the internal components to dry.
- Remove any visible water by gently patting with a dry cloth or cotton swab.

4. Use Silica Gel or Rice (Optional)
- If there’s water inside, you can place the TV in a dry, warm area with silica gel packets or rice around the TV to help absorb moisture. This is usually a last resort and should be done with caution. Don’t place the TV directly in rice, as it can get into the internal components.
5. Let the TV Dry Completely
- Leave the TV in a dry place for at least 24-48 hours to allow it to fully dry out. It’s essential to be patient and let the moisture evaporate before trying to power it on again.
6. Check for Visible Damage
- After drying, check for any signs of water residue or corrosion. If you notice rust or other visible signs of internal damage, the issue may be beyond a simple fix and require professional repair.
7. Test the TV
- Once you’re sure the TV is completely dry, plug it back in and turn it on.
- Check the display for any signs of malfunction, like flickering, distorted images, or dead pixels.
- If the TV doesn’t turn on or shows signs of damage, it might need to be repaired by a professional.
8. Seek Professional Help
- If the TV is not functioning properly after attempting these steps, or if you’re unsure about opening it yourself, it’s best to contact a professional technician to inspect and repair the damage.
Prevention Tips for the Future
- Keep liquids away from the TV: Ensure drinks or other liquids are kept at a safe distance from the TV.
- Use a waterproof cover: If you’re placing your TV outdoors or in a humid environment, consider using a cover to protect it from water damage.
Also Read : How to Fix iTunes Error 9: A Comprehensive Troubleshooting Guide