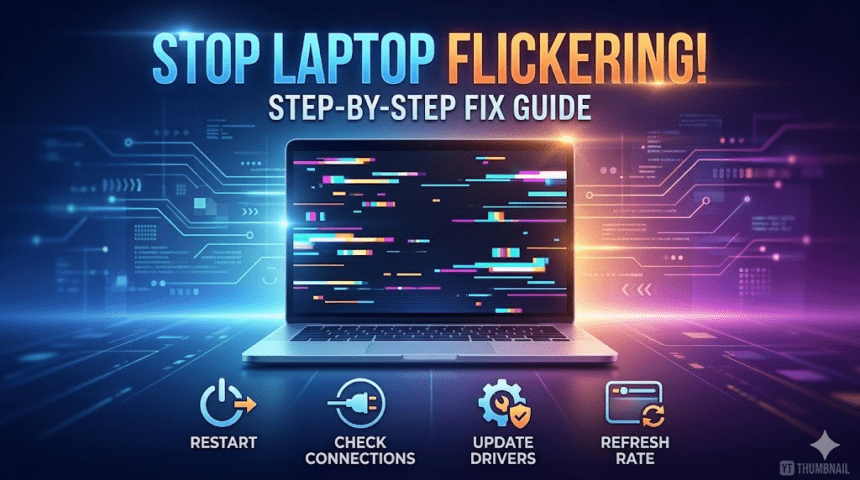
A flickering laptop screen is more than just a distraction it can lead to eye strain, headaches, and a massive drop in productivity. While it might look like a hardware disaster, the cause is often a simple software glitch or an outdated driver.
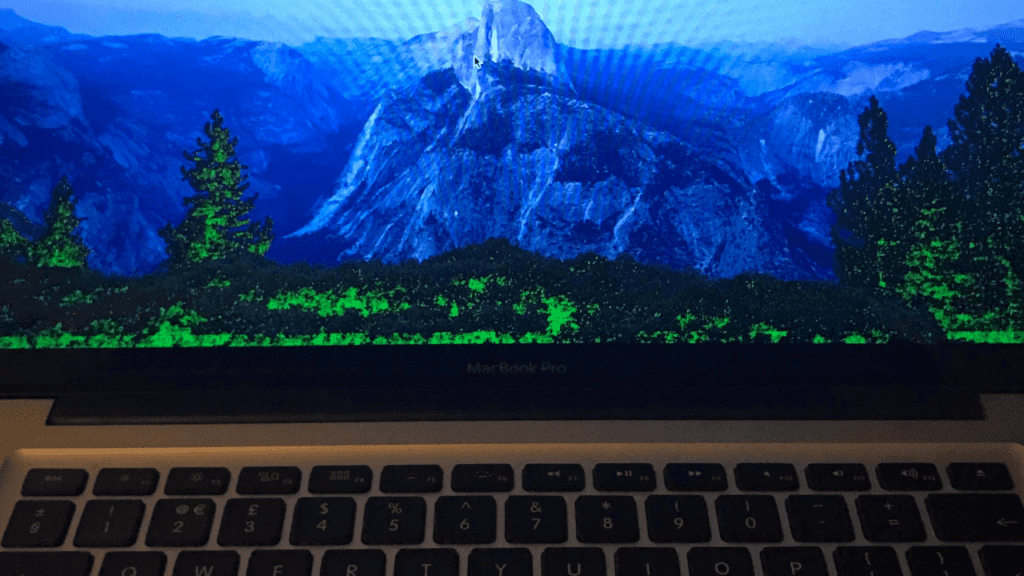
If your screen is blinking, stuttering, or showing strange lines, follow this troubleshooting guide to get your display back to normal.
Step 1: The “Task Manager” Diagnostic Test
Before you start changing settings, you need to know if the problem is software (an app) or hardware (the screen/graphics card).
- Press Ctrl + Shift + Esc to open the Task Manager.
- Observe the screen:
- If Task Manager flickers: The problem is likely a graphics driver or hardware.
- If Task Manager does NOT flicker: An incompatible app is the culprit.
Step 2: Troubleshoot Graphics Drivers
Drivers are the “bridge” between your OS and your screen. If that bridge is broken, the image won’t stay stable.
Update Your Drivers
- Right-click the Start button and select Device Manager.
- Expand Display adapters.
- Right-click your graphics card (Intel, NVIDIA, or AMD) and select Update driver.
Roll Back or Reinstall
If the flickering started after a recent update, you might need to go back to an older version. In Device Manager, right-click your display adapter, choose Properties, and select Roll Back Driver under the Driver tab.
Step 3: Adjust the Screen Refresh Rate
A refresh rate that is too high or unsupported by the hardware can cause visual instability.
- Open Settings > System > Display.
- Go to Advanced display.
- Under Choose a refresh rate, try a different frequency (usually switching from 60Hz to 59Hz or 48Hz can stabilize the screen).
Step 4: Check for Incompatible Apps
Certain legacy applications or specific antivirus programs (like older versions of Norton or McAfee) can interfere with Windows display settings.
- The Fix: Update your apps to the latest versions. If the flickering persists, try uninstalling recently added software one by one to see if the blinking stops.
Step 5: Physical Hardware Checks
If the software steps didn’t work, the issue might be physical.
- The Hinge Test: Slowly open and close your laptop lid. If the flickering happens only at certain angles, the EDP cable (the ribbon cable inside the hinge) is likely loose or frayed.
- External Monitor Test: Connect your laptop to a TV or external monitor via HDMI. If the external screen is perfectly clear, your laptop’s LCD panel is likely failing and needs replacement.
- Magnet Check: Keep magnets and unshielded speakers away from your laptop, as magnetic interference can distort the display signal.
When to See a Pro
If your screen flickers even while the computer is booting up (during the manufacturer’s logo screen), it is almost certainly a hardware failure. In this case, you should check your warranty status on the manufacturer’s website (e.g., Dell Support or HP Support).
Also Read : How to Save Your Smartwatch’s Battery Life: A Complete Guide