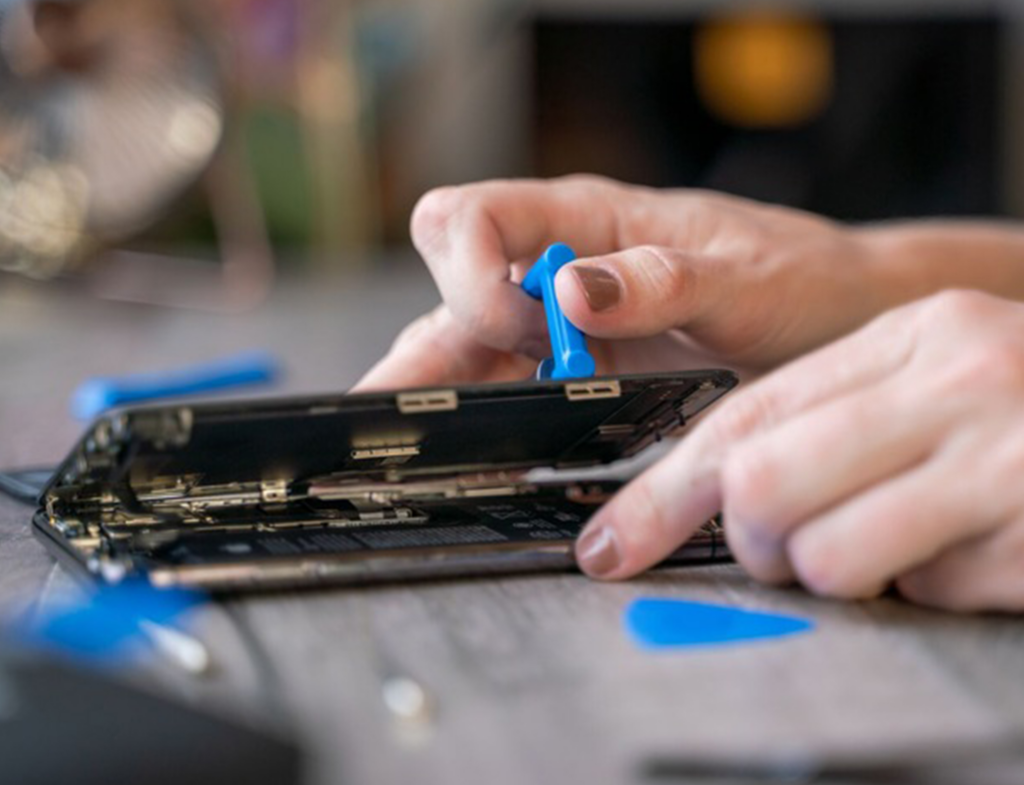
A Step Forward for the Right to Repair Movement
This initiative aligns with the growing global support for the movement, which advocates for giving consumers and independent technicians the legal right and access to tools, parts, and manuals necessary to repair electronic devices. By teaming up with HP is empowering users to extend the life of their laptops, reduce electronic waste, and take control of their tech.
What iFixit Offers HP Laptop Owners
Through this collaboration, now provides a comprehensive selection of authentic HP replacement parts for a variety of laptop models. Whether you’re dealing with a damaged display, faulty battery, worn-out keyboard, or overheating issues.
But it doesn’t stop at just parts is also well known for its step-by-step repair guides, which are now available for many HP laptops. These guides are designed to be beginner-friendly, offering detailed instructions and images to help users through the entire repair process.
Available Parts Include:

- Laptop Displays – Fix cracked or malfunctioning screens with genuine HP displays.
- Batteries – Replace aging or non-functional batteries to restore full mobility.
- Keyboards and Trackpads – Solve typing or cursor control issues with new input components.
- Cooling Fans – Address overheating or noise problems with original cooling solutions.
Each part is tested for quality and compatibility, ensuring a safe and effective repair experience.
Cost-Effective and Environmentally Responsible
Opting for self-repair with genuine parts is not only budget-friendly but also supports sustainability. Rather than discarding your device or relying on expensive third-party services, you can restore your laptop’s functionality with precision.
Conclusion
Whether you’re a student, professional, or tech enthusiast, maintaining your HP laptop has never been easier. With iFixit providing access to genuine HP parts, comprehensive repair guides, and professional-grade tools, users now have a powerful alternative to costly service centers.
Also Read : MacBook Pro: How to Use an External Monitor from Boot


