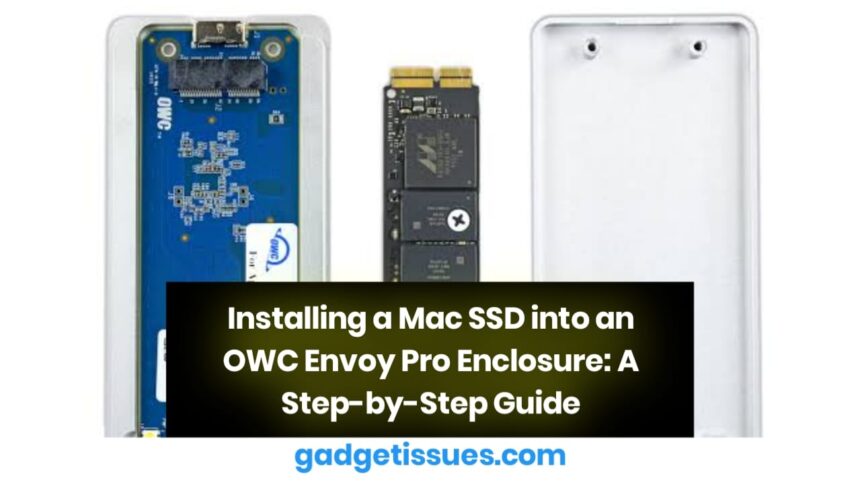
The OWC Envoy Pro enclosure allows you to repurpose a factory-installed Mac SSD as an external portable drive. This guide provides detailed instructions on how to securely install your SSD into the enclosure.
Note: OWC Envoy Pro enclosures specifically designed for factory-installed Mac SSDs and are not compatible with third-party PCIe SSD replacements, including the OWC Aura Pro drive.
Required Tools and Components
Parts:
- OWC Envoy Pro External SSD Enclosure (Compatible with Mid-2012 to Early-2013 Macs or Mid-2013 to Mid-2015 Macs, depending on the model)
- Factory-Installed Mac SSD
Tools:
- T5 Torx Screwdriver
Step-by-Step Installation Guide
Step 1: Open the Enclosure
- Hold the enclosure and carefully pull the top half downward toward the wedge-shaped end.
- Lift the top half away from the bottom half.
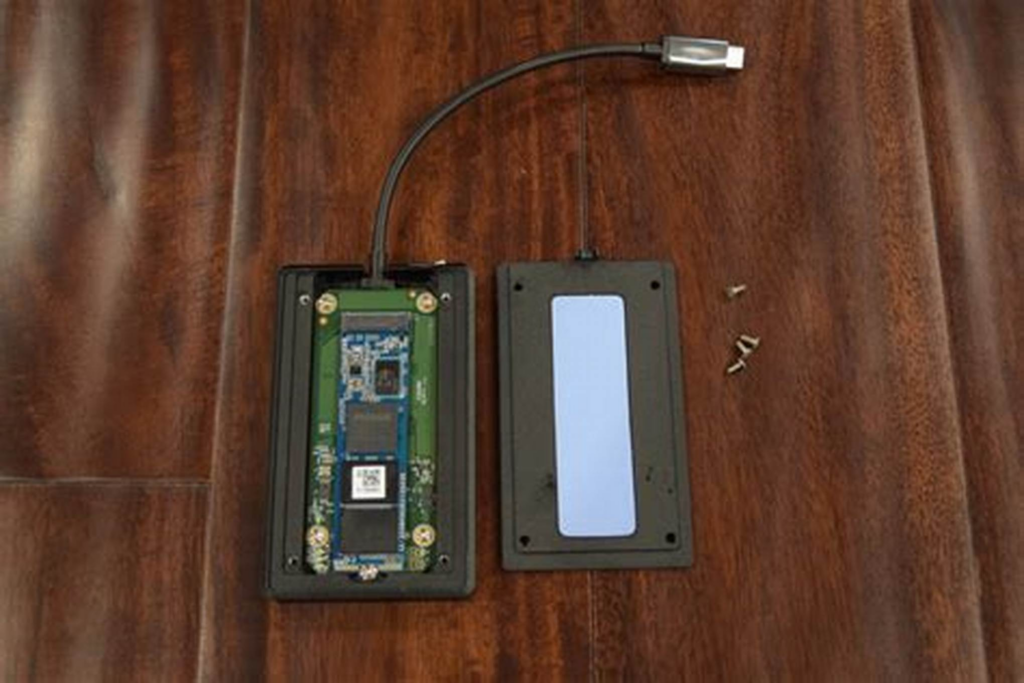
Step 2: Insert the SSD
- Align the SSD with the connector inside the enclosure, ensuring that the gold contact pads face upward.
- Gently insert the SSD into the connector. It may require firm pressure, but do not force it.
- When properly inserted, the notch at the bottom of the SSD should align with the screw hole in the enclosure.
Step 3: Secure the SSD
- Use a T5 Torx screwdriver to fasten the 6.5 mm screw, securing the SSD in place.
Step 4: Reassemble the Enclosure
- Reposition the top half of the enclosure and slide it closed securely.
Step 5: Fasten the Enclosure Screws
- Use a T5 Torx screwdriver to install the two 7.6 mm screws on the bottom of the enclosure.
Step 6: Apply the Rubber Foot
- Remove the adhesive backing from the rubber foot provided in the kit.
- Place the sticky side over the screws you just inserted and press firmly for 30 seconds to secure it.
Step 7: Connect the Drive
- The SSD is now ready for use.
- Connect it to your computer using the included USB cable.
Final Steps: Formatting and Usage
Once installed, your external SSD can be used for:
- Data transfer
- File backups
- Time Machine backups (macOS users)
If the drive is not recognized immediately, use Disk Utility (Mac) or Disk Management (Windows) to verify and format the SSD if needed.
By following these steps, you can successfully repurpose your Mac SSD using the OWC Envoy Pro enclosure, ensuring a secure and efficient storage solution.
Also Read :Troubleshooting Guide: Dell Laptop Won’t Turn On – Causes & Fixes