This guide provides step-by-step instructions for removing, replacing, or upgrading the LPCAMM2 (Low Power Compression-Attached Memory Module) in your Lenovo ThinkPad P1 Gen 7 laptop. The device utilizes LPDDR5X memory in its LPCAMM2 slot.
Contents
Important Safety Information:Required Parts & ToolsPartsToolsStep-by-Step InstructionsStep 1: Turn Off Your LaptopStep 2: Loosen the Base Cover ScrewsStep 3: Loosen the Base Cover’s Left SideStep 4: Release the Left Edge ClipsStep 5: Loosen the Base Cover’s Right SideStep 6: Release the Right Edge ClipsStep 7: Loosen the Base Cover CompletelyStep 8: Remove the Base CoverNext Steps
Important Safety Information:
- Before starting, discharge your battery below 25% to reduce the risk of fire in case of accidental battery damage.
- If your battery is swollen, handle it with extreme caution and follow proper safety protocols.
Required Parts & Tools
Parts
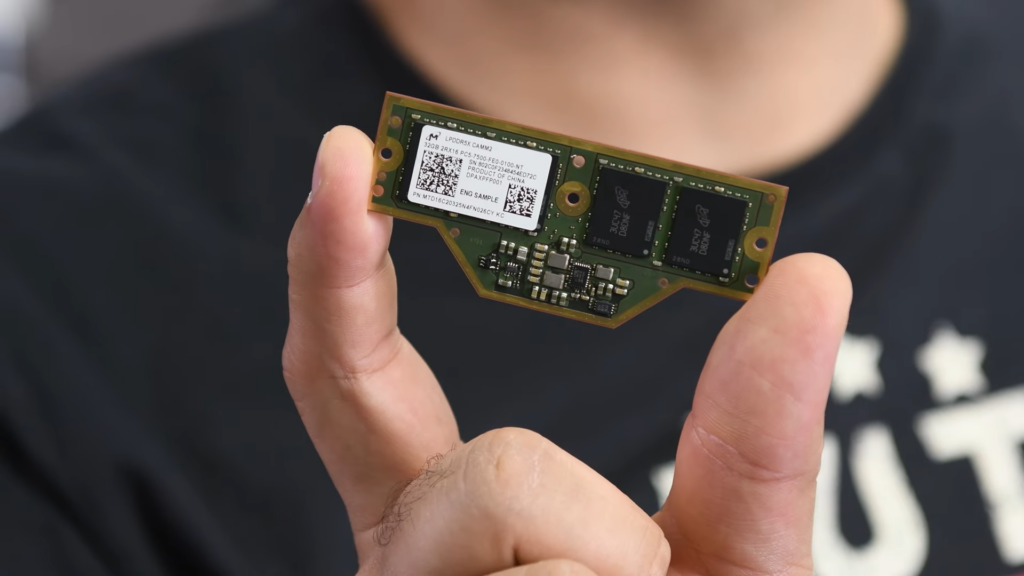
- LPDDR5X 32 GB LPCAMM2 (Available from third-party vendors)
- LPDDR5X 64 GB LPCAMM2 (Available from third-party vendors)
Tools
- Phillips Head Screwdriver (Size PH1) – Price: $5.49
- Opening Picks (Set of 1) – Price: $4.99
Step-by-Step Instructions
Step 1: Turn Off Your Laptop
- Shut down your laptop completely (do not put it in sleep mode).
- Disconnect all cables.
- Flip the laptop upside-down with the screen hinge facing toward you.
Step 2: Loosen the Base Cover Screws
- Use a Phillips screwdriver (PH1) to loosen the six captive screws securing the base cover.
Step 3: Loosen the Base Cover’s Left Side
- Insert the tip of an opening pick into the seam near the bottom-left corner (close to the screen hinge).
- Apply firm pressure while angling the pick vertically to get it into the seam.
- Pivot the pick downward and slide it around the corner to release the clips.
Step 4: Release the Left Edge Clips
- Slide the opening pick along the left edge to free the securing clips.
Step 5: Loosen the Base Cover’s Right Side
- Insert the tip of an opening pick into the seam near the bottom-right corner (close to the screen hinge).
- Pivot the pick downward and slide it around the corner to release the clips.
Step 6: Release the Right Edge Clips
- Slide the opening pick along the right edge to free the securing clips.
Step 7: Loosen the Base Cover Completely
- Grasp the base cover along the screen hinge edge.
- Gently pull up to loosen it.
Step 8: Remove the Base Cover
- Lift the base cover and remove it completely.
Next Steps
Once the base cover is removed, you can proceed with replacing or upgrading the LPCAMM2 memory module. Follow your device’s manufacturer guidelines for proper installation.
If you found this guide helpful, feel free to leave a comment or suggestion!
Also Read : PS5 Cooling System Maintenance: A Step-by-Step Disassembly and Cleaning Guide