
If your USB-C port is damaged or not functioning properly, it may need to be replaced. Whether it’s for charging, data transfer, or connecting peripherals, a faulty USB-C port can be frustratin. This guide will walk you through the process of replacing a USB-C port on your device, but keep in mind that this procedure can vary depending on the device (smartphone, laptop, tablet, etc.). Always consult your device’s manual or service guide for specifics.
1. Gather Necessary Tools
Before starting the replacement, make sure you have the right tools:
- Screwdriver Set (specifically precision screwdrivers)
- Plastic Pry Tools
- Tweezers
- Replacement USB-C Port (specific to your device)
- Soldering Iron (if needed for soldering the port)
- Soldering Tools (soldering wire, flux, desoldering braid)
- Anti-static Wrist Strap (to avoid damaging components with static electricity)
2. Turn Off the Device
Make sure the device is completely powered off and unplugged from any power source. This step is crucial to avoid short-circuiting the device or causing other electrical issues.
3. Disassemble the Device
Depending on the device, you will need to remove the screws or clips holding the back cover or housing in place. For smartphones and tablets, the rear panel might be secured with adhesive or screws. For laptops, the bottom panel will likely need to be unscrewed. Use plastic pry tools to gently open the device without damaging the internals.
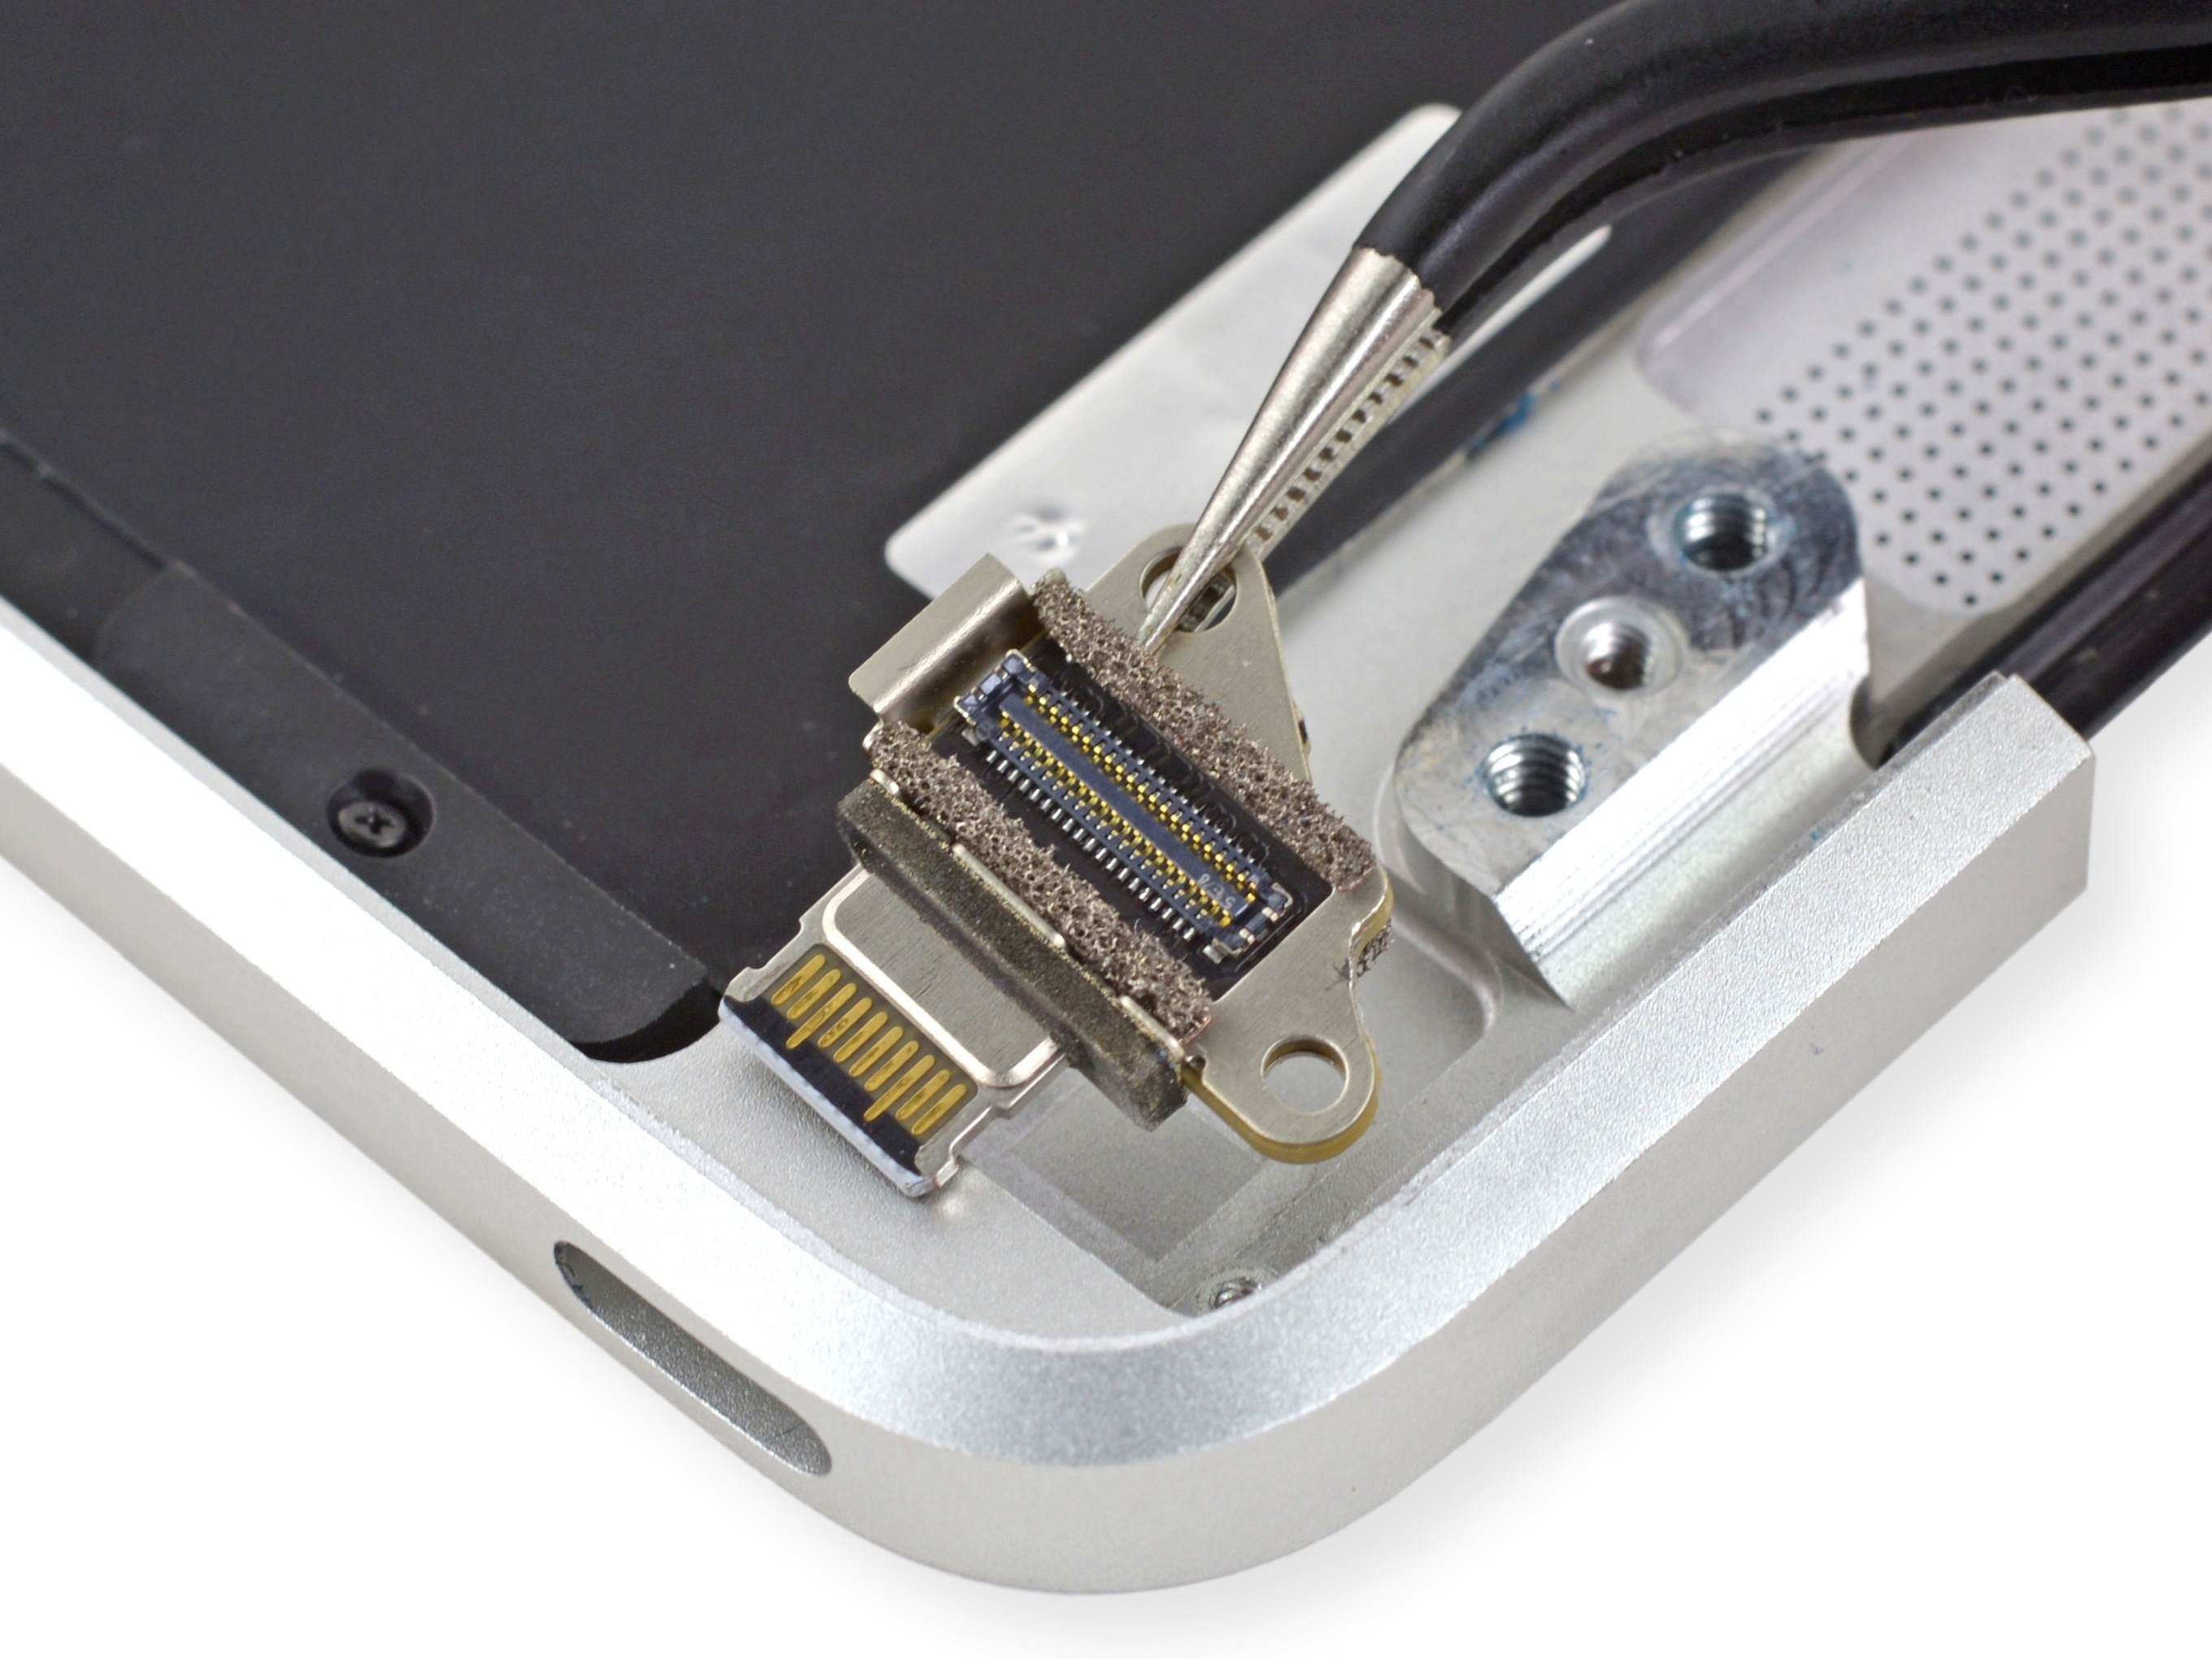
4. Locate the USB-C Port
Once the device is open, locate the faulty USB-C port. On smartphones or laptops, the port may be directly attached to the motherboard or on a separate board. If it’s attached to the motherboard, you may need to remove additional components or shields to access the port.
5. Desolder the Old USB-C Port
If the USB-C port is soldered onto the motherboard, use a soldering iron to heat the solder joints on the port’s pins. Once the solder melts, use a desoldering braid or solder sucker to remove the old solder. Be cautious when using a soldering iron, as overheating can damage surrounding components.
6. Solder the New USB-C Port
Place the new USB-C port onto the motherboard or board in the correct orientation. Solder the pins of the port to the motherboard. Make sure the solder joints are clean and solid to ensure proper connection.
7. Reassemble the Device
Once the new port is securely in place, reassemble the device by reversing the disassembly steps. Carefully snap the back cover, reattach screws, and make sure all connections are secure.
8. Test the USB-C Port
Before fully sealing the device, test the USB-C port to ensure that it’s working. Plug in a charger or data cable to confirm that it’s charging and transferring data as expected. If everything is working fine, proceed to seal the device completely.
9. Final Check
Ensure that the device is reassembled properly and that no screws or components are left loose. Power on the device to check for functionality.
Conclusion
Replacing a USB-C port can be a complex task that requires precision and the right tools. While the process can vary depending on your device, following these general steps will help guide you through the replacement. If you’re unsure about any part of the process or uncomfortable with soldering, it’s always a good idea to take your device to a professional technician.
Alos Read : Best Practices for Cleaning and Maintaining Your USB-C Port