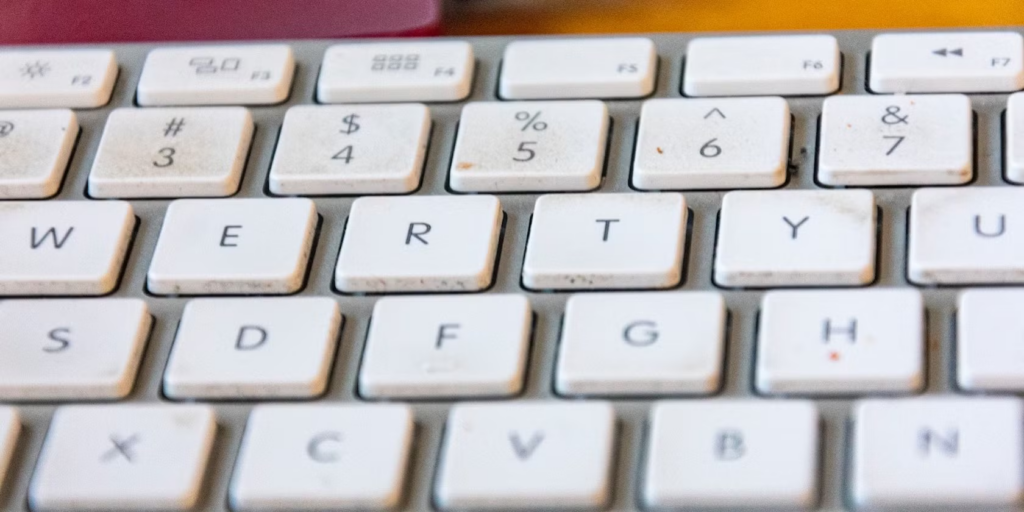
Sticky keys on a MacBook keyboard can be frustrating and make typing difficult. This issue is commonly caused by spilled drinks, dust, food crumbs, or general wear and tear. Luckily, you don’t need to replace your keyboard right away—many sticky key problems can be fixed at home with simple cleaning techniques.
In this detailed guide, you’ll learn how to properly clean and fix your MacBook keyboard to restore smooth key functionality. If the issue persists even after cleaning, you may need to replace the keyboard.
Tools and Materials You’ll Need
Required Tools:
- Electronics Cleaning Bundle – Includes cleaning tools designed for delicate electronics ($23.99)
- Precision Cleaning Kit – Comes with fine brushes and tools for deep cleaning ($9.95)
- Toothpick – Helps remove debris stuck under the keys
- Paper Towels – For drying and wiping excess liquid
- Cotton Swabs (Q-tips) – Essential for detailed cleaning
- High Content Rubbing Alcohol (Isopropyl Alcohol, 90% or higher) – Dissolves sticky substances ($10.99)
- Cup or Small Bowl – To soak keys in warm, soapy water
- Dish Soap – Helps remove sticky residue from keys
- Spudger or Plastic Opening Tool – Safely pries off keys without damage ($4.99)
Avoid using sharp metal objects like knives or screwdrivers, as they can damage the keyboard.
Step-by-Step Guide to Fix Sticky MacBook Keys
Step 1: Power Off and Prepare Your MacBook
Before starting any cleaning, completely shut down your MacBook to avoid accidental damage.
- Click on the Apple logo () in the top-left corner of your screen.
- Select “Shut Down.”
- Disconnect any external devices like USB drives or chargers.
Important: Avoid using excessive liquid directly on the keyboard, as it can seep inside and damage internal components.
Step 2: Surface Cleaning Around Sticky Keys
- Dip a cotton swab (q-tip) in isopropyl alcohol (rubbing alcohol).
- Ensure the swab is damp, not dripping.
- Gently wipe around each sticky key to remove dirt, grease, and minor residue.
- You may need multiple q-tips, as they tend to collect dirt quickly.
Why use isopropyl alcohol?
- Dries quickly without leaving moisture.
- Effectively dissolves sticky residues.
- Safe for electronics when used in moderation.
Step 3: Remove Crumbs and Debris Under the Keys
- Use a toothpick to carefully scrape away crumbs, dust, or gunk stuck between the keys.
- For deeper cleaning, use compressed air to blow out dust particles.
- Hold the MacBook at an angle to allow debris to fall out.
Step 4: Test the Keys
- Try pressing the previously sticky keys.
- If they still feel stuck, continue to the next steps.
Step 5: Removing the Sticky Keys (For Deep Cleaning)
If surface cleaning doesn’t solve the problem, you’ll need to remove the affected keys.
- Use a spudger or plastic opening tool to gently pry up the sticky key.
- Insert the tool under one corner of the key and lift slightly.
- Use your fingers to carefully twist and remove the key from the keyboard.
Warning: Avoid using excessive force, as MacBook keys are delicate and can break easily.
Step 6: Fixing Key Carriers (If They Come Off)
Once the key is removed, you may notice small white plastic components underneath. These are called key carriers (scissor mechanisms).
- If they detach, carefully align them back in place.
- Look at the reference image below to position the two pieces correctly.
- Press them together until you hear a soft clicking sound.
Step 7: Soaking the Keys in Soapy Water
If the keys have sticky residue from spills, soaking them helps restore their function.
- Fill a cup with warm water and dish soap.
- Drop the removed keys into the cup and let them soak for 10 minutes.
- Swirl them around to help remove dirt.
This step removes sugary or greasy residue from spilled drinks like coffee, juice, or soda.
Step 8: Wipe the Keyboard With Alcohol
- While the keys are soaking, use a q-tip dipped in alcohol to wipe down the keyboard surface.
- Focus on the exposed area where the removed keys were sitting.
Step 9: Cleaning the Back of the Keys (Optional, But Recommended)
- Remove the keys from the soapy water and dry them completely using a paper towel.
- Dip a q-tip in rubbing alcohol and wipe the back of each key.
- Allow them to air-dry completely before reattaching.
Step 10: Reattaching the Keys
- Position the cleaned key over its original spot.
- Press firmly in the center until you hear a double-click sound.
- Move your finger side to side to ensure the key is securely in place.
Conclusion
Your MacBook keyboard should now be working smoothly and without stickiness.
To prevent future sticky keys:
- Avoid eating or drinking near your MacBook.
- Regularly clean the keyboard with a microfiber cloth.
- Use compressed air to remove dust buildup.
- Perform light maintenance using iFixit’s Electronics Cleaning Bundle.
Also Read : Easy Guide: How to Clean Your Laptop Fan Without Opening It