This quick and easy guide will help you clean and repair sticky trigger buttons on an Xbox One wireless controller. While the guide focuses on Model 1708, the same steps work for earlier Xbox One, One S, One X, and Elite controllers, as their trigger mechanisms are similar.
Contents
What You Need
Tools:
- iFixit Opening Tool (or a small plastic/metal pry tool)
- Cotton buds (Q-tips)
- Rubbing alcohol (for cleaning)
Preparation:
- Work on a clean, well-lit surface.
- Remove the controller’s batteries and cover panel before starting.
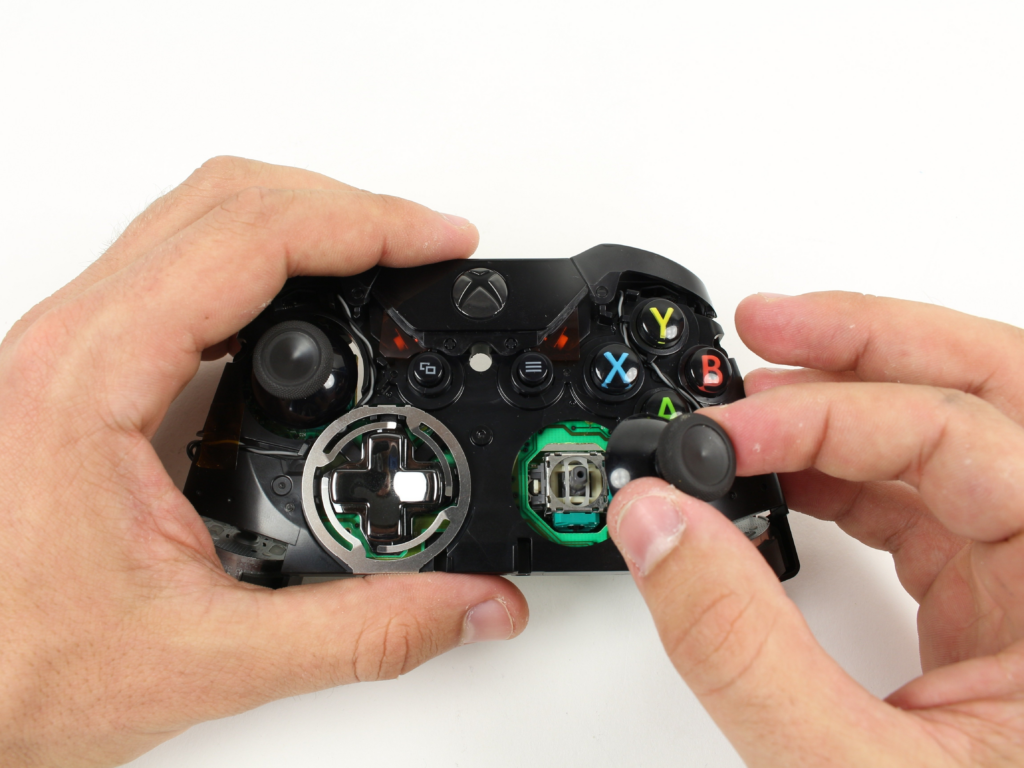
Step 1: Remove the Back Panel
- Insert the pry tool near the base of the trigger to get under the plastic panel.
- Gently pry the panel off until the plastic snaps free.
- Alternate between the front and back of the panel if it’s stubborn.
Step 2: Clean the Trigger Contact Pads
- Dip a cotton bud in rubbing alcohol (not too much—avoid drips).
- Wipe the contact pad where the trigger presses down.
- Clean the underside of the trigger itself, as dirt often builds up there.
- Check inside the controller for dust or debris and clean as needed.
Step 3: Reassemble the Controller
- Place the plastic panel back over the trigger.
- Press down firmly until you hear a click, ensuring it’s secure.
- Repeat the process for the other trigger if needed.
- Reinsert the batteries and back cover.
Conclusion
By following these steps, you can fix sticky triggers and improve your gaming experience. If the problem persists, check for damaged parts, such as worn-out rubber pads, and consider replacing them.
Also Read : DIY Guide: How to Fix a Broken Headphone Jack