Time Machine is a built-in backup and data recovery tool in macOS that helps users safeguard important files and restore them when needed. This guide walks you through the process of enabling Time Machine and saving a backup of your Mac to an external storage drive.
To follow this guide, you will need an external storage device—preferably with more storage capacity than the data currently stored on your Mac’s internal drive. Time Machine was introduced in macOS 10.5 Leopard (2007) and has remained a key feature in all subsequent macOS versions. For additional details, visit Apple Support. While this guide illustrates the process using macOS 10.14 Mojave, the steps are similar across different macOS versions.
Step 1: Open Time Machine Preferences
- Click on the Apple menu () in the top-left corner of your screen.
- Select System Preferences and navigate to Time Machine (located toward the bottom of the pane).
For more information, refer to Macworld’s guide on Time Machine settings.
Step 2: Customize Backup Preferences

- Before choosing a backup disk, click Options to customize the backup settings.
- Use the + and – buttons to exclude specific folders that you do not want to include in the backup.
- If you are using a MacBook, you can check the first box to allow backups while running on battery power.
- Check the second box if you want notifications whenever Time Machine automatically deletes old backups to save space.
For further assistance, visit iFixit’s troubleshooting guide.
Step 3: Select a Backup Disk
- Connect an external storage drive to your Mac.
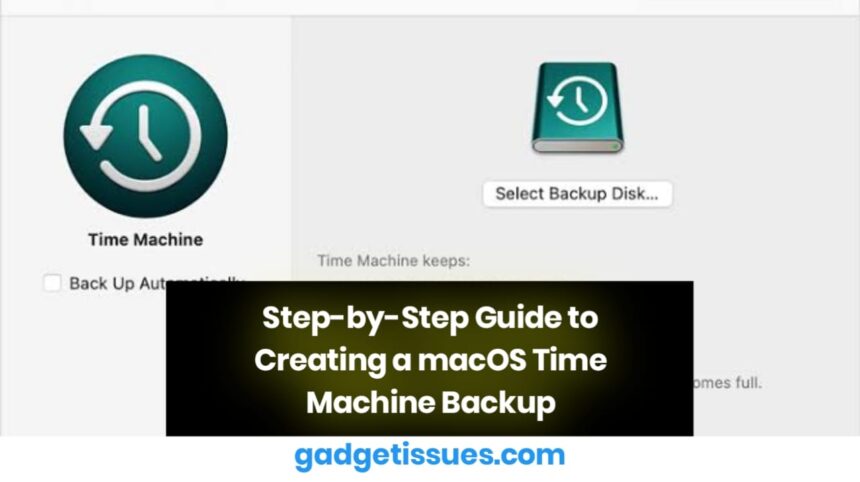
- Click Select Backup Disk and choose your external drive from the list of available storage devices.
- If your drive does not appear, ensure it is formatted correctly and visible in Finder.
- Warning: If the selected drive was not previously used for Time Machine, it will be erased before the first backup.
Need a recommended storage device? Check MacRumors’ best external drives for macOS backups.
Step 4: Enable Automatic Backups
- To enable automatic backups, check the box labeled “Back Up Automatically.”
- Once activated, Time Machine will create backups as follows:
- Hourly backups for the last 24 hours
- Daily backups for the past month
- Weekly backups for previous months
Step 5: Start a Manual Backup

- Check the box labeled Show Time Machine in menu bar for easy access.
- Click the Time Machine icon in the menu bar.
- Select Back Up Now to initiate an immediate backup.
Step 6: Monitor Backup Progress
- Before starting the backup, Time Machine will prepare the selected disk and organize files.
- You can track the progress in the Time Machine preferences window.
- The first backup may take a longer time depending on the size of your data and the speed of your storage device.
- A “Backup Complete” notification will appear once the process is finished.
Conclusion
Using macOS Time Machine is one of the simplest and most effective ways to back up your data. By setting up automatic backups and regularly monitoring them, you can protect your important files from accidental loss, hardware failures, or system crashes. Whether you’re storing work documents, personal photos, or essential software, having a Time Machine backup ensures peace of mind.
Also Read : Comprehensive Guide: Apple Watch SE Motherboard Removal


