1. Preparing for the Replacement
Before replacing the graphics card, ensure you are working in a static-free environment. Always ground yourself to avoid static discharge that could damage your components. Learn more about avoiding static damage.
2. Power Off and Disconnect Everything
Power down your PC and unplug all cables, including the power supply. Make sure to remove any external devices connected to the PC as well.
3. Opening the Computer Case
Remove the screws from the side panel of your case. Carefully take off the panel and place it in a safe location.
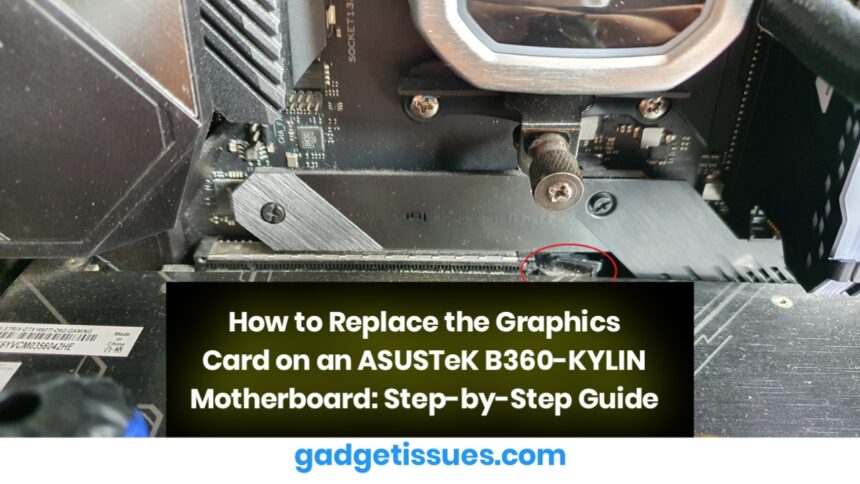
4. Locate the Existing Graphics Card
On your ASUSTeK B360-KYLIN motherboard, the graphics card is typically located in one of the PCIe slots. You can consult the ASUSTeK B360-KYLIN manual here for detailed instructions.
5. Remove the Old Graphics Card
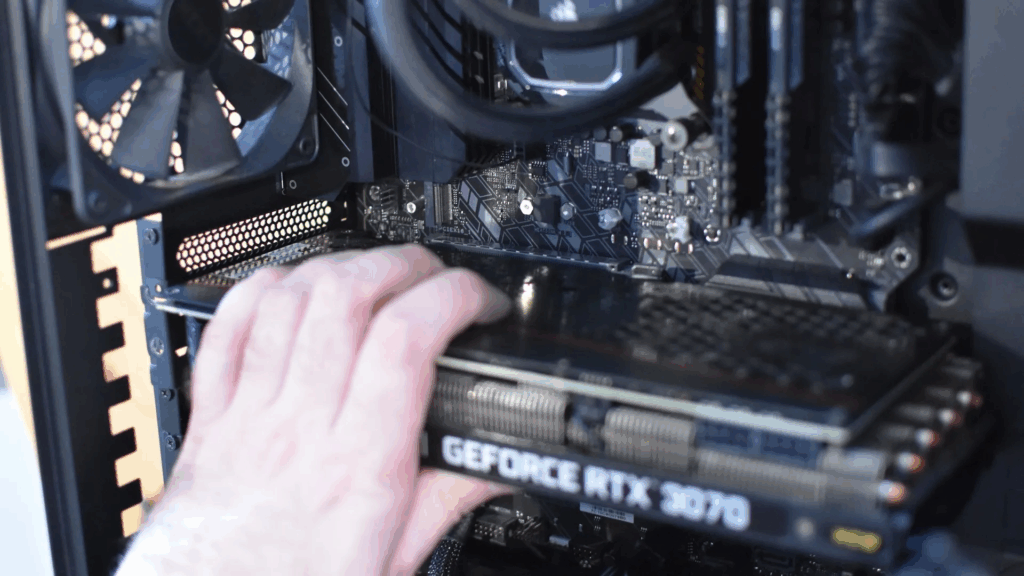
Release the latch or screw securing the graphics card in place. Gently pull the card out of the PCIe slot. Be sure to disconnect any power cables attached to the card.
6. Install the New Graphics Card
Carefully insert the new graphics card into the PCIe slot. Make sure it’s securely seated and screw it into place. Ensure you connect the necessary power cables to the card if required.
7. Reattach the Side Panel and Power On
After installing the new graphics card, reattach the side panel of your PC case. Plug everything back in and power up your PC.
8. Install Necessary Drivers
You may need to install the appropriate drivers for your new graphics card. If you’re installing an NVIDIA card, download the latest drivers from NVIDIA’s website. For AMD cards.
9. Testing the Graphics Card
Once everything is set up, power on your PC and check if the system recognizes the new graphics card. You can do this by checking your system settings or device manager. If there are any issues, ensure the drivers are properly installed.
10. Adjust Display Settings (If Necessary)
After installation, go to your system’s display settings and make adjustments if needed. You may need to change the resolution or enable hardware acceleration depending on your graphics card.
Also Read : How to Fix an Asus Laptop Keyboard Not Working Issue