1. Gather the Necessary Tools and Materials
Ensure you have the following items ready:
Contents
1. Gather the Necessary Tools and Materials2. Power Off and Disconnect All Cables3. Open the Computer Case4. Locate the M.2 Slot on the ROG Strix X570-I5. Remove the Old M.2 SSD (If Applicable)6. Install the New M.2 SSD7. Reattach the Case Panel8. Reconnect All Cables9. Power On the PC10. Install Necessary Drivers and Software11. Format the New SSD (If Needed)12. Check SSD Health and Performance
- A new M.2 SSD compatible with your motherboard (PCIe 3.0/4.0, NVMe or SATA type depending on your needs).
- A small Phillips-head screwdriver (if required for removing screws).
- A grounding strap or any other anti-static tool to prevent damage from static electricity.
2. Power Off and Disconnect All Cables
- Shut down your PC completely and unplug all cables, including the power cord, HDMI, USB, and Ethernet cables.
- It’s essential to disconnect everything to prevent accidental damage.
3. Open the Computer Case
- Remove the screws securing the side panel of the case and gently remove the panel.
- Place the case on a clean, flat surface to ensure safety during the replacement.
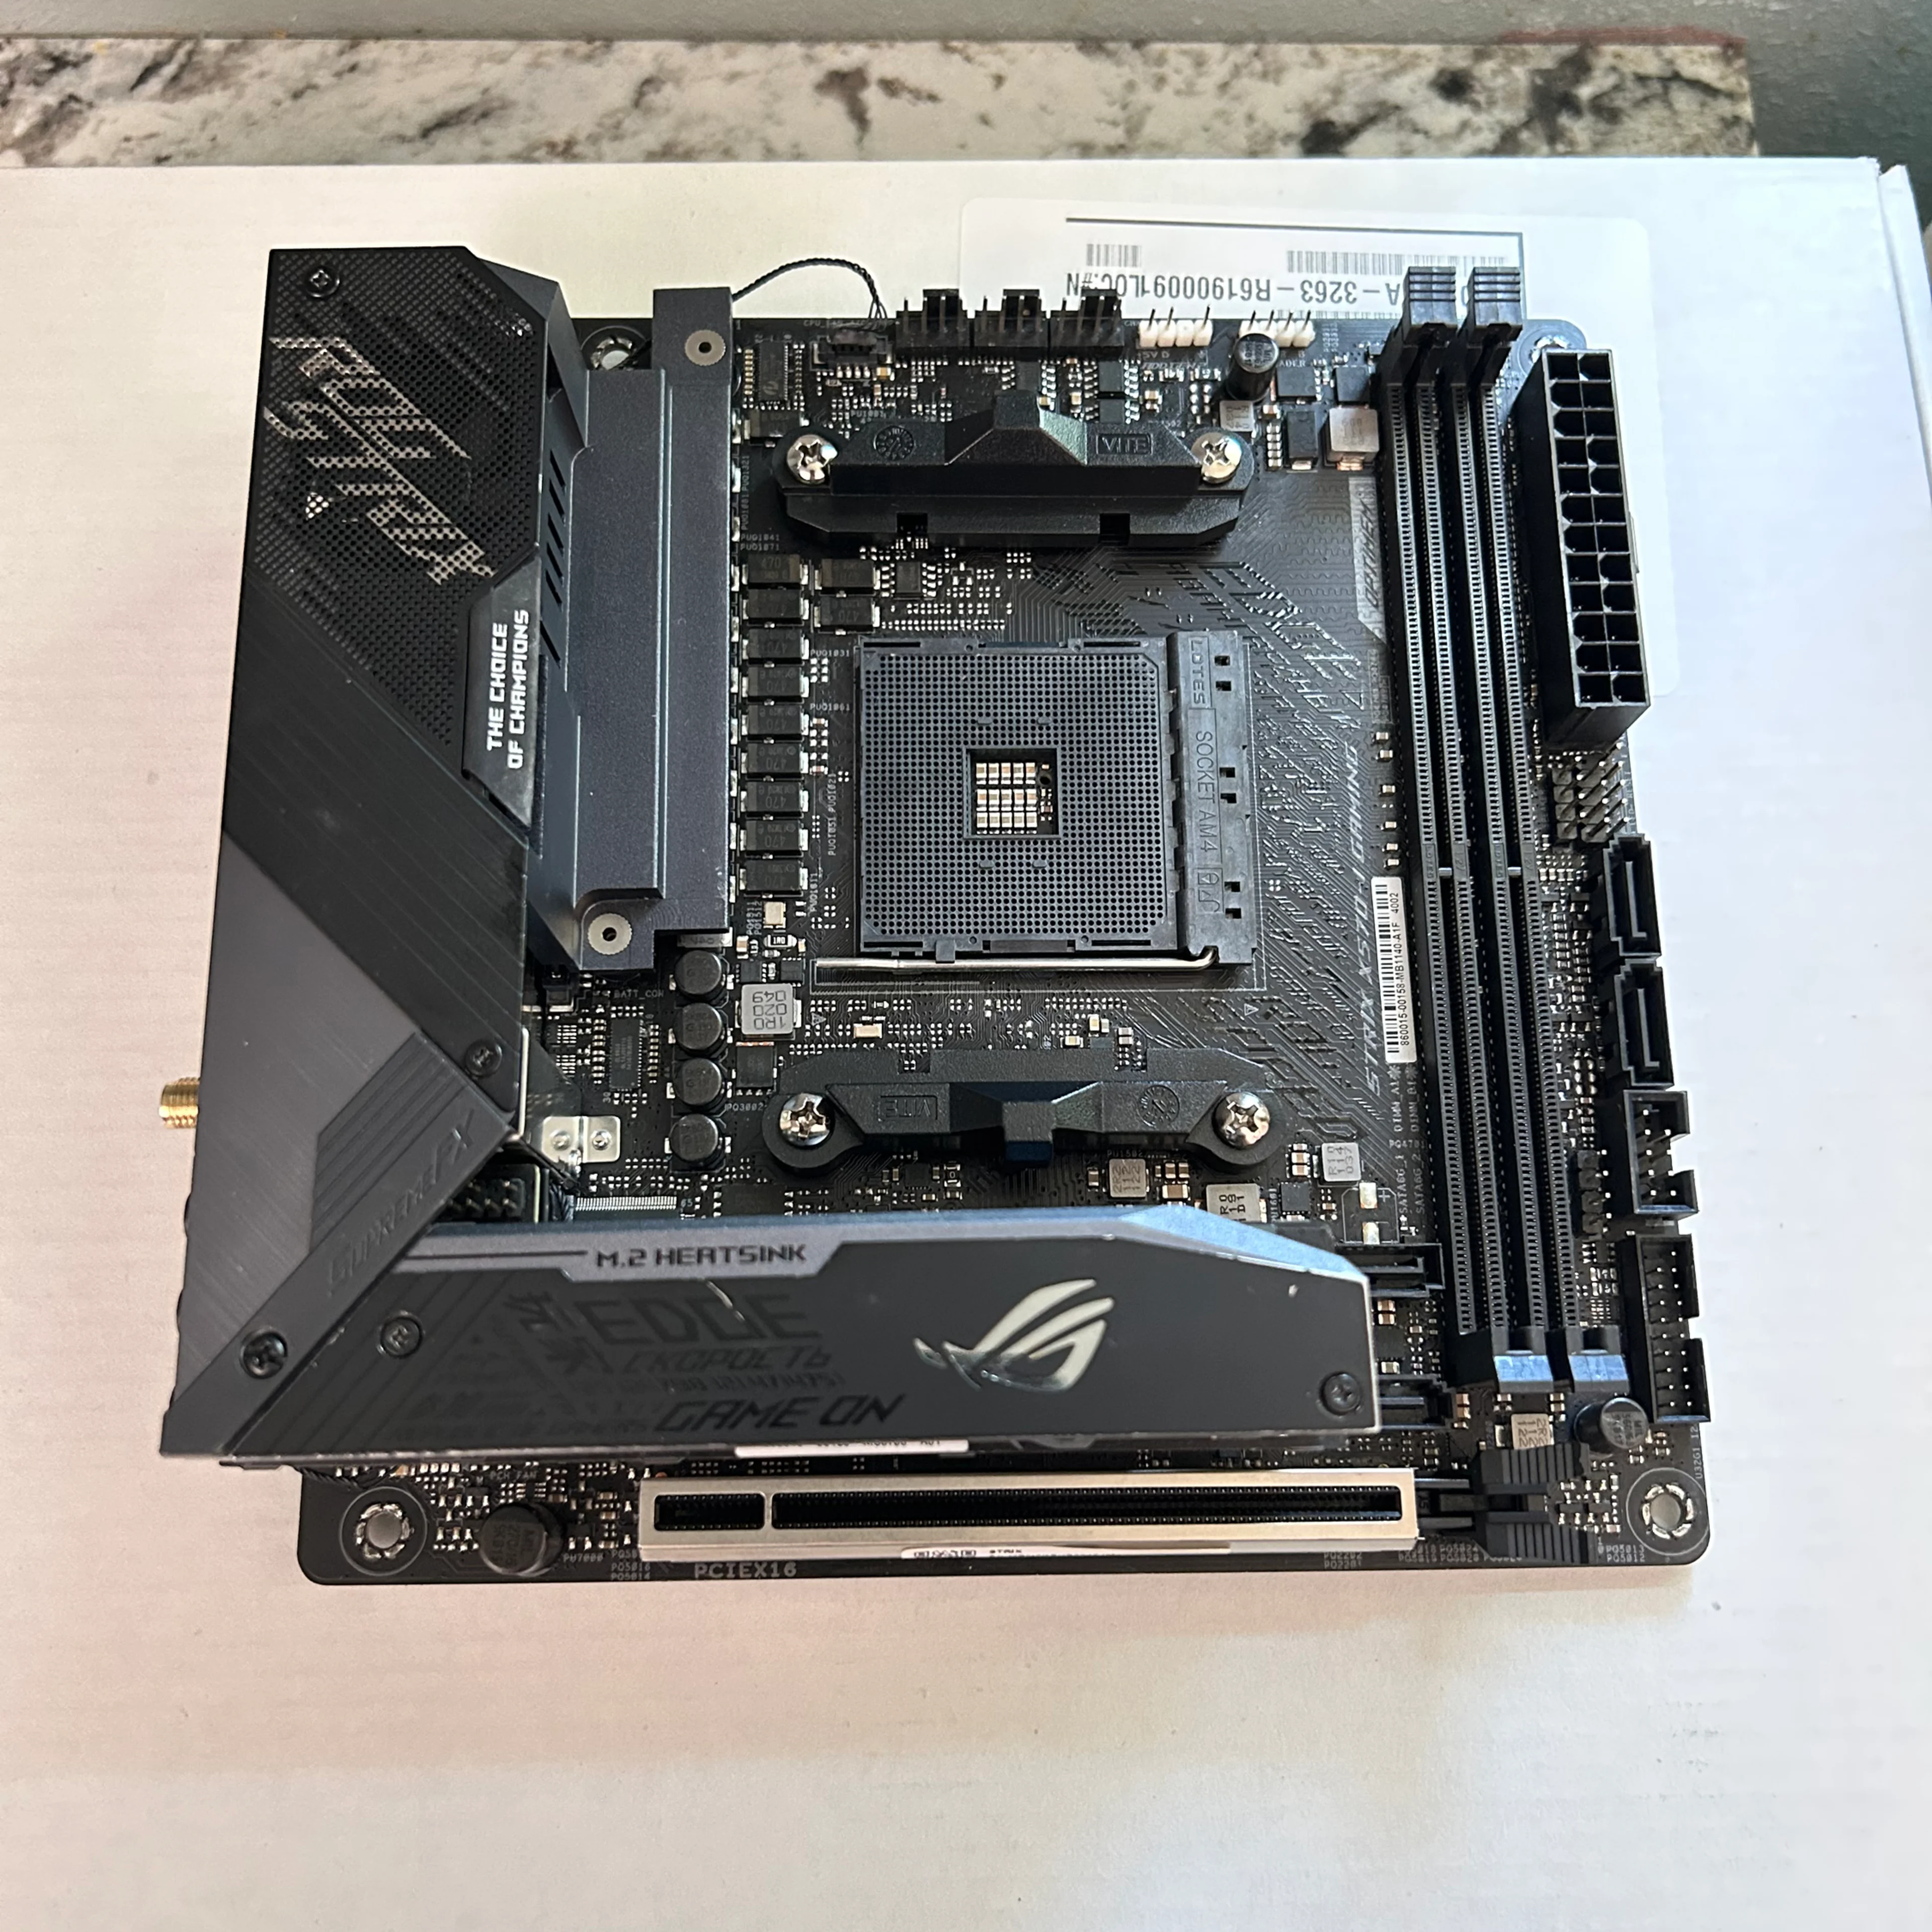
4. Locate the M.2 Slot on the ROG Strix X570-I
- The Asus ROG Strix X570-I Mini ITX motherboard has two M.2 slots, one of which may already be occupied by an SSD.
- The M.2 slot on this motherboard is located near the edge of the board, typically around the CPU socket area. Consult the Asus ROG Strix X570-I user manual for specific location details.
5. Remove the Old M.2 SSD (If Applicable)
- If you’re replacing an existing M.2 SSD, you’ll need to unscrew the small mounting screw that holds the SSD in place. This screw is usually located at the end of the M.2 slot.
- Gently slide the SSD out of its slot once the screw is removed. Be careful not to apply force, as M.2 SSDs are delicate.
6. Install the New M.2 SSD
- Align the notch on the new M.2 SSD with the connector in the M.2 slot. Make sure the SSD is inserted at a slight angle (usually around 30 degrees).
- Once aligned, press the SSD gently into the slot until it’s fully seated.
- Afterward, screw the SSD into place using the mounting screw you removed earlier (or the one that comes with the new SSD).
7. Reattach the Case Panel
- Once the SSD is securely installed, reattach the side panel of the case and tighten the screws to keep everything in place.
8. Reconnect All Cables
- Plug all cables back into their respective ports, including the power cable, display cables, and USB devices.
9. Power On the PC
- Turn on your PC and enter BIOS (usually by pressing the “Delete” key or “F2” during startup).
- Check if the new M.2 SSD is recognized in BIOS under the storage devices section. If the SSD is listed, it means it has been successfully installed.
10. Install Necessary Drivers and Software
- Depending on the type of M.2 SSD you installed (NVMe or SATA), you may need to install specific drivers.
- For NVMe SSDs, visit the manufacturer’s website to download and install any required drivers (e.g., Samsung NVMe drivers).
- For SATA SSDs, Windows should automatically recognize it, but you may want to check for firmware updates on the SSD manufacturer’s website.
11. Format the New SSD (If Needed)
- If this is a fresh drive, you’ll need to format it before use.
- Open Disk Management in Windows by right-clicking the Start menu and selecting “Disk Management.”
- Locate the new SSD, right-click on it, and select “Initialize Disk.”
- Follow the prompts to create a new partition and format the SSD.
12. Check SSD Health and Performance
- You can use various tools like CrystalDiskInfo or the software provided by your SSD manufacturer to monitor the health, temperature, and performance of the new SSD.
Also Read : How to Turn On Your Phone When the Power Button Isn’t Working