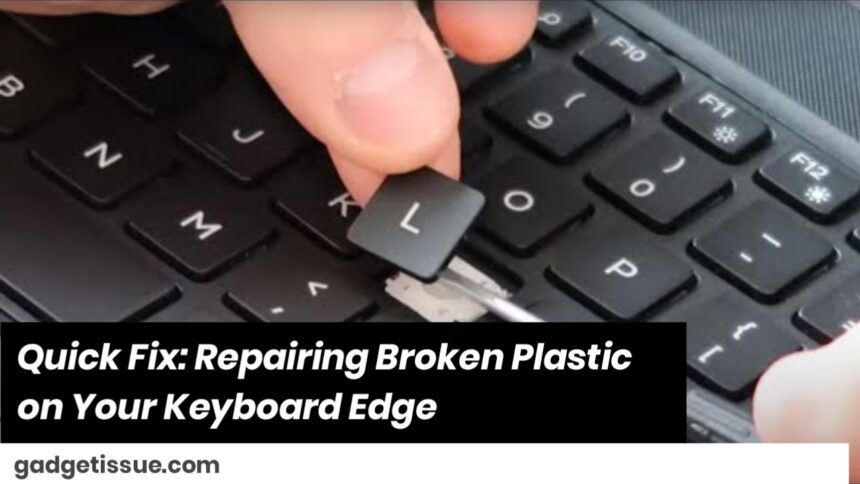
When the plastic on the edge of your keyboard cracks or breaks, it can be frustrating, but before you toss it out, consider repairing it. With some basic tools and a bit of patience, you can restore the keyboard and avoid the cost of buying a new one. This detailed guide will walk you through the process of repairing broken plastic with a focus on reliability and long-lasting results.
Materials You Will Need:
- Super glue or plastic adhesive: This will bond the plastic pieces together. Choose a high-strength adhesive specifically made for plastic for the best results.
- Fine-grit sandpaper: After the glue dries, sandpaper helps smooth the edges and remove any excess glue.
- Clamp or rubber bands: To hold the pieces in place while the glue sets, preventing misalignment.
- Small piece of plastic (optional): If part of the keyboard’s edge is missing, you can use a small piece of plastic to fill in the gap.
- Toothpick or pin: This helps to apply the glue precisely, avoiding spills and excess glue.
Step-by-Step Guide for Repairing Your Keyboard

1. Clean the Area
Before you begin any repairs, ensure that the broken edges are clean. Dust, dirt, or oil can interfere with the adhesive and reduce its bonding strength.
- Use a dry cloth or paper towel to wipe down the surface of the broken plastic.
- For areas with stubborn grime, you can lightly dampen the cloth with water, but be sure to dry it thoroughly afterward.
Cleaning the area ensures the glue can bond effectively, making the repair more durable.
2. Test Fit the Broken Pieces
Before you apply any glue, carefully line up the broken pieces to see if they fit together properly.
- If the pieces align well, you’re ready to glue them.
- If there’s a significant gap or missing piece, consider using a small scrap of plastic to bridge the gap. For instance, a piece of plastic from an old pen or a plastic card can work well as a filler.
Testing the fit ensures that the pieces come together seamlessly when glued.
3. Apply the Glue
Once you’re satisfied with the fit, it’s time to apply the glue.
- Take your toothpick or pin and dip it into the super glue or plastic adhesive.
- Apply a small, even layer of glue to one of the broken edges. Avoid applying too much glue, as it may spill out when you press the pieces together.
- Press the broken pieces together firmly. You should feel them snap into place. If the broken pieces have any uneven edges, apply glue along the seam to fill the gap.
Choosing the right glue is crucial for the strength of your repair. Super glue is often good for small cracks, but for larger breaks, a stronger plastic adhesive or epoxy may be necessary.
4. Hold the Pieces in Place
After applying the glue, you need to keep the broken pieces aligned while the adhesive sets.
- Use a clamp or rubber bands to hold the pieces in place. If using rubber bands, wrap them around the keyboard’s edge to provide even pressure.
- Let the glue dry for at least 1-2 hours for a solid bond. For optimal strength, leave it to cure overnight.
If you don’t hold the pieces in place during drying, they may shift, leading to misalignment and weakening the bond.
5. Smooth the Surface
Once the glue is dry, you may notice some unevenness along the repaired area. This is where the fine-grit sandpaper comes in.
- Lightly sand the glued area to remove any excess glue and smooth out rough edges.
- Sanding should be done carefully, as over-sanding could damage the surrounding plastic or make the repair more noticeable.
Smoothing the surface not only improves the aesthetic of the repair but also ensures there are no sharp edges that could cause discomfort or further damage.
6. Optional: Paint or Polish
For a cleaner look or if you’re concerned about the appearance of the repair, you can paint over the glued area to match the original color of your keyboard.
- Use a plastic-friendly paint that matches the color of your keyboard.
- Lightly sand the area again after the paint has dried to achieve a smooth, professional finish.
- You could also apply a layer of clear polish for an additional protective layer.
Painting is optional but can make a significant difference if the repair is visible and you want it to blend seamlessly with the rest of your keyboard.
Pro Tip: Use Epoxy for Larger Cracks
If the crack or break is large or if the edge is under significant pressure during use (such as near frequently pressed keys), you might want to use epoxy putty instead of regular super glue.
- Epoxy putty is stronger and can be molded to fill in larger gaps.
- It also provides a more durable repair for high-stress areas.
While epoxy can be messier than glue, its strength is unmatched, especially for larger or more critical repairs.
Final Thoughts:
Repairing a broken edge on your keyboard can be a simple DIY task, provided you follow the right steps and use the right materials. With a little care, you can extend the life of your keyboard and save money on a new one.
Also Read : Lenovo Laptop Will Not Turn On – Troubleshooting Guide


