So, your headphone headband split or cracked, huh? That annoying snap right where it bends or rests on your head? I get it — it’s super frustrating, and suddenly your favorite headphones feel way less comfy or sturdy. But don’t panic and don’t rush out to buy a new pair just yet. With a little patience and some basic tools, you can fix that band and have them feeling almost like new again.
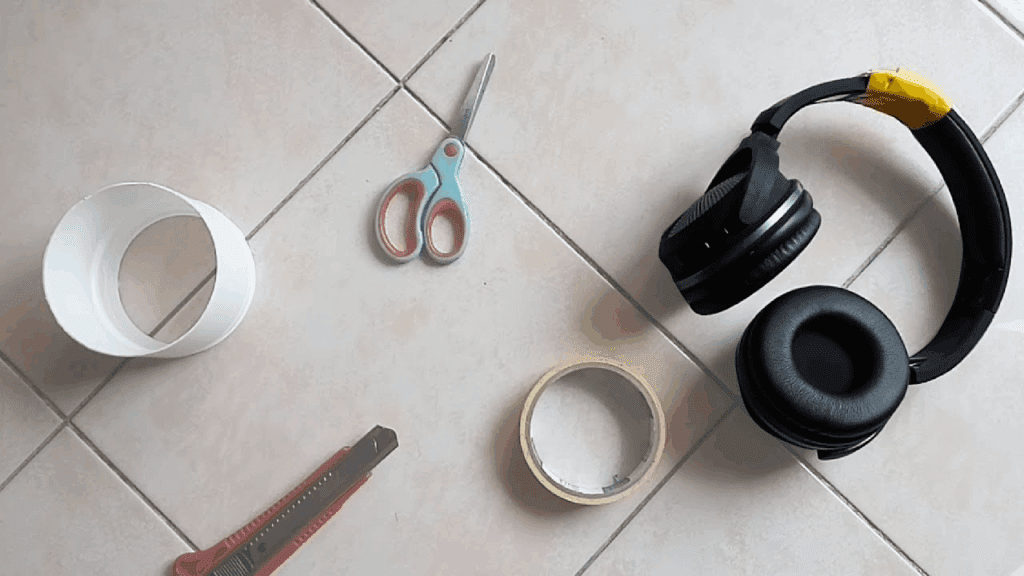
What You’ll Need for the Job
- Strong adhesive: I recommend super glue for quick fixes or epoxy if you want something tougher and longer-lasting. Epoxy usually comes as two parts you mix together and takes longer to set, but it bonds like a champ.
- Electrical tape or fabric tape: This helps hold everything together once glued, plus it cushions the area to prevent future breaks.
- Something to hold it tight: If you have a clamp, perfect. If not, rubber bands or even heavy books stacked carefully can do the trick.
- Optional extras: Sugru (that moldable glue that dries rubbery) can give a nice finish and extra strength, or heat shrink tubing for a clean, professional look if you’re into that.
Step 1: Clean That Broken Spot
Before you glue anything, clean the area well. Use a little rubbing alcohol or just a damp cloth to wipe away oils, sweat, dust — anything that could stop the glue from sticking properly. Trust me, skipping this step is a common mistake and can mess up the whole repair.
Step 2: Glue It Up (But Don’t Overdo It)
Apply your glue inside the crack. If you’re using super glue, a thin line is enough — less is more here. With epoxy, mix according to instructions and spread it evenly on both sides of the break. Press the pieces together gently so the glue gets in all the nooks.
Step 3: Hold It Tight — Patience Is Key
Now, you gotta hold that band together until the glue sets. Clamp it if you can — it keeps the pressure even and firm. No clamp? Wrap rubber bands around it, or hold it with your hands steady for a few minutes, then find a way to keep it compressed overnight (like books or a heavy object). This part is crucial — if it moves while drying, the fix won’t last.
Step 4: Give It Time to Cure
Don’t rush this part. Follow the drying time on your glue package, but overnight is usually the safest bet. The stronger the cure, the longer your repair will hold up — no point fixing it halfway.
Step 5: Wrap It Up for Strength and Comfort
Once the glue’s dry, wrap the repaired spot with electrical tape or fabric tape. This step is super helpful — it adds durability and also makes the spot less likely to irritate your head when you wear the headphones. Plus, it protects the glue from sweat and wear.
Bonus: Make It Look Nice and Last Longer
If you want a really clean, durable finish, try Sugru. It’s like modeling clay that turns into rubber — you mold it over the crack, smooth it out, and leave it to cure. It looks great and adds a soft grip.
Alternatively, if you have heat shrink tubing, slide a piece over the band before gluing. After the glue’s dry, shrink it with a hair dryer or heat gun. This gives your headphones a slick, factory-fresh look.
A Few Extra Tips From Someone Who’s Been There
- Don’t test your headphones too hard right after fixing. No twisting or stretching the band until the glue’s rock solid.
- If the foam padding on your headband is torn, grab some craft foam or fabric scraps and glue them on as a quick patch. It makes a huge difference in comfort.
- Metal headbands are trickier — if yours is bent or broken, you might need a professional repair or a tiny metal brace you can find online. Soldering or welding is an option but definitely not beginner stuff.
- If your headphones are super valuable or pricey, and this fix feels too risky, sometimes it’s worth checking if the manufacturer offers replacement parts or repairs.
Also Read : Dropped Your Phone and the Screen Went Black? Here’s What to Do