By using this site, you agree to the Privacy Policy and Terms of Use.
Accept

Gadget Issues

Fix Your Gadgets

  • About Us
  • How to Fix
  • Error Fix
  • Tutorial
  • Tech News
© 2025 All Rights Reserved.
Reading: How to Fix a Jammed SIM Tray Without Damaging Your Phone
Share
Sign In
Notification Show More
Font ResizerAa

Gadget Issues

Fix Your Gadgets

Font ResizerAa
  • About Us
  • How to Fix
  • Error Fix
  • Tutorial
  • Tech News
Search
  • About Us
  • How to Fix
  • Error Fix
  • Tutorial
  • Tech News
Have an existing account? Sign In
Follow US
© 2022 Foxiz News Network. Ruby Design Company. All Rights Reserved.
Gadget Issues > Blog > How to Fix > How to Fix a Jammed SIM Tray Without Damaging Your Phone
How to Fix

How to Fix a Jammed SIM Tray Without Damaging Your Phone

hawk
Last updated: February 25, 2026 9:42 am
hawk
Share
3 Min Read
A person carefully using a metal ejector tool to open a smartphone SIM tray.
SHARE

Your smartphone keeps you connected constantly. However, a jammed SIM tray causes massive frustration quickly. Furthermore, incorrect handling creates serious hardware risks. Therefore, you must use proper tools and extreme patience. Consequently, you can safely extract a stuck tray today.

Contents
Why Do SIM Trays Jam?Essential DIY Repair ToolsSafe Step-by-Step FixesDangerous Mistakes to AvoidProfessional Repair OptionsPreventing Future Jams

Why Do SIM Trays Jam?

First, you might seat the card improperly. This careless mistake easily traps the entire tray inside. Next, tiny particles accumulate inside the port over time. Specifically, frequent card swaps invite dangerous dirt inside.

Furthermore, forcing the tray at weird angles bends the delicate metal. A dropped phone also deforms this fragile component. Finally, the internal spring mechanism occasionally breaks. This hardware failure happens frequently in older devices.

Essential DIY Repair Tools

Gather these specific items before starting your repair.

  • Official SIM ejector tool or a small paperclip.
  • Bright flashlight for internal inspection.
  • Soft-bristle toothbrush and canned air.
  • Non-metallic, rubber-tipped tweezers.

Safe Step-by-Step Fixes

  • Step 1: Inspect the Area. First, shine a flashlight directly into the narrow slot. Look for visible obstructions or bent metal parts.
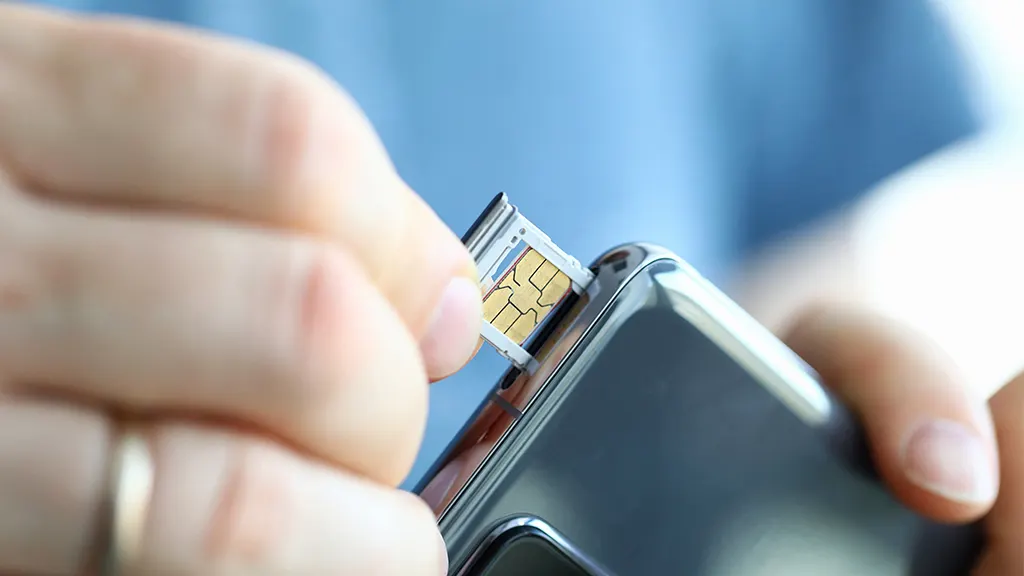
  • Step 2: Use the Right Tool. Next, insert the official ejector tool perfectly straight. Apply steady, firm pressure inward. Never wiggle the tool forcefully at an angle.
  • Step 3: Try Gentle Tapping. Hold your phone vertically with the tray facing down. Then, gently tap the back panel using your palm. Meanwhile, press the ejector tool inward simultaneously. Gravity often dislodges the stuck components safely.
  • Step 4: Clean the Slot. Does the tray stick out slightly? If so, use canned air to blow away trapped dirt.
  • Step 5: Use Tweezers Carefully. Finally, grip the exposed plastic using rubber-tipped tweezers. Pull the tray outward very gently. Never use sharp metal tweezers during this delicate process.

Dangerous Mistakes to Avoid

You must avoid specific DIY mistakes entirely. First, never insert sharp needles or kitchen knives. These dangerous objects easily puncture internal batteries. Next, never apply excessive physical force. Furthermore, avoid prying the frame open using a screwdriver. Finally, keep all liquid cleaners far away.

Professional Repair Options

Did all these simple steps fail? You must stop trying immediately before breaking something expensive. Therefore, you should seek professional mobile phone repair in Adelaide. SAM Phone Repair easily removes stubborn trays using specialized extraction tools. Their skilled technicians protect your delicate internal motherboard completely.

Preventing Future Jams

Always power off your phone before opening the slot. Furthermore, avoid switching carriers frequently unless absolutely necessary. Buy a protective case to block dangerous pocket lint. Finally, always buy original manufacturer replacements for damaged parts.

Also Read : 9 Amazing Open Source Operating Systems That Aren’t Linux

You Might Also Like

How to Spot Hidden Damage After Dropping Your Phone

10 Common Samsung Phone Repair Problems and Solutions

Top Reasons Smartphones Overheat & How to Prevent It

How to Effectively Remove Water From Your Samsung Phone: A Step-by-Step Guide

How to Fix MacBook Display “Staingate” Issue: A Step-by-Step Guide

TAGGED:fix SIM trayjammed SIM traymobile phone repair Adelaideremove stuck SIMstuck SIM card
Share This Article
Facebook Twitter Copy Link Print
Share
Previous Article pressing their thumb against a locked Samsung smartphone screen. Why Won’t My Samsung Fingerprint Work After That Update?
Next Article A frustrated person repeatedly tapping an unresponsive Google Pixel smartphone screen. Google Pixel Touchscreen Not Working? How to Fix It

Latest News

Green Lines on Phone Screen
What Causes Sudden Green Lines or Black Spots on Your Phone Screen?
Uncategorized
The Master Blueprint for 2026: Top 8 Essential Laptop and Computer Repair Tips
How to Fix
Fix a water-damaged phone in 2026 using the silica gel method. Learn why the rice myth fails and follow our 3-phase emergency guide to rescue your device and data.
Don’t Use Rice: The Definitive 2026 Guide to Saving a Water-Damaged Phone
How to Fix
Formatted, fact-checked, and optimized by Gemini AI (2026).
Why Laptop Performance Drops and How Expert Adelaide Services Restore Speed in 2026
How to Fix
//

“Struggling with slow internet or other gadget problems? Our blog offers step-by-step solutions to common tech issues, helping you troubleshoot and resolve problems quickly and efficiently.”

Quick Link

  • Contact Us
  • Privacy Policy
  • Terms and Conditions
  • Cookie Policy
  • Disclaimer

Read Categories

  • Error Fix
  • How to Fix
  • Tech News
  • Tutorial
  • Uncategorized

Find Us on Socials

Follow US
© 2025 Gasgetissues. All Rights Reserved.
Welcome Back!

Sign in to your account


Lost your password?