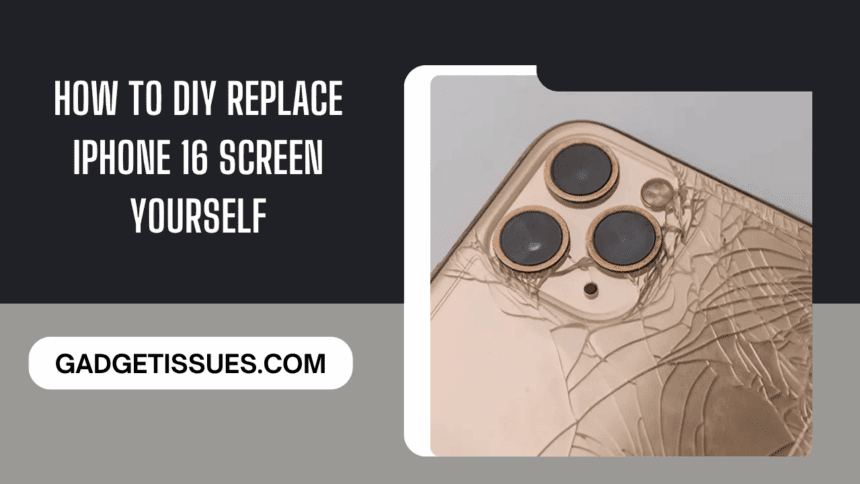
If you’re confident with tools and want to save on repair costs, replacing your iPhone 16 screen at home is totally doable. With the right tools, a bit of patience, and a steady hand, you can restore your phone without paying for professional service. This walks you through each step to bring your device back to life.
Step 1: Prepare Your Workspace
Start by setting up in a clean, flat area. Turn off your iPhone and remove the SIM tray. Use an anti-static mat to protect internal components. Make sure you have all tools on hand—this will make the process smoother. For essential repair gear, check out the Phonefix iPhone repair kits.
Step 2: Remove the Screws
Use a Pentalobe screwdriver, designed specifically for iPhones, to remove the two screws near the charging port. These hold the screen in place. A compact electric screwdriver can make this faster and more precise.
Step 3: Heat the Screen
While optional, heating helps loosen adhesive. Use a hot air gun set to around 70°C (160°F). Hold it a few inches from the screen edges and move it slowly. This softens the glue, making it easier to lift the screen without damage. You can explore safe heat tools for phone repair here.
Step 4: Attach the Suction Handle
Stick the suction handle near the top of the screen and pull gently. This should create a gap between the screen and the phone body. A secure grip here makes the next step easier.
Step 5: Pry the Screen Open
With the suction creating a gap, insert a metal spudger along the edge. Work your way around the screen slowly. Don’t rush—excess force may damage the display or internal parts. A precision spudger tool is key here.
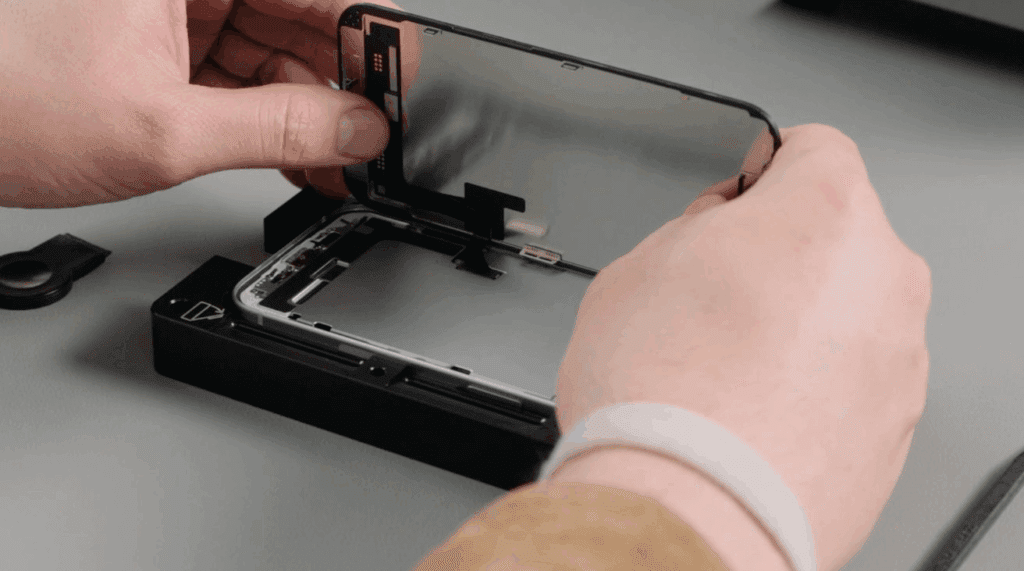
Step 6: Disconnect the Screen
After lifting the display, use a spudger to detach the internal connectors. First, unscrew the small metal bracket holding them in place. Carefully lift each connector to free the screen from the motherboard.
Step 7: Install the New Screen
Align the new screen’s connectors with the motherboard ports. Gently press them in until they click. Reinstall the metal bracket to secure the connectors. For accurate fitting, consider using OEM-quality iPhone 16 screens.
Step 8: Reassemble the Phone
Place the screen back into position and press gently until it fits snugly. Reinsert the two Pentalobe screws near the bottom. This locks the display securely in place.
Step 9: Test Your New Screen
Power on the phone. Check for clear visuals, touch response, and alignment. If everything looks and feels right, you’re done!
Conclusion
Replacing your iPhone 16 screen at home is easier than you think. With DIY phone repair tools and careful attention to each step, you can avoid the high cost of service centers. Just take your time, follow the instructions, and enjoy the satisfaction of a job well done.
Also Read : Common Computer Problems and How to Properly Fix Them