If you’ve entered the wrong passcode too many times, your iPod Touch may become disabled, preventing access to your data. Fortunately, you can restore functionality using a few proven methods. Follow this step-by-step guide to fix a disabled iPod Touch and get it working again.
1. Try to Wait and Retry (If Applicable)
Before performing a reset, check the screen message. If your iPod Touch says “Try again in X minutes,” wait until the timer runs out and attempt to enter your passcode again. However, if the message reads “iPod is disabled. Connect to iTunes”, you’ll need to use recovery methods.
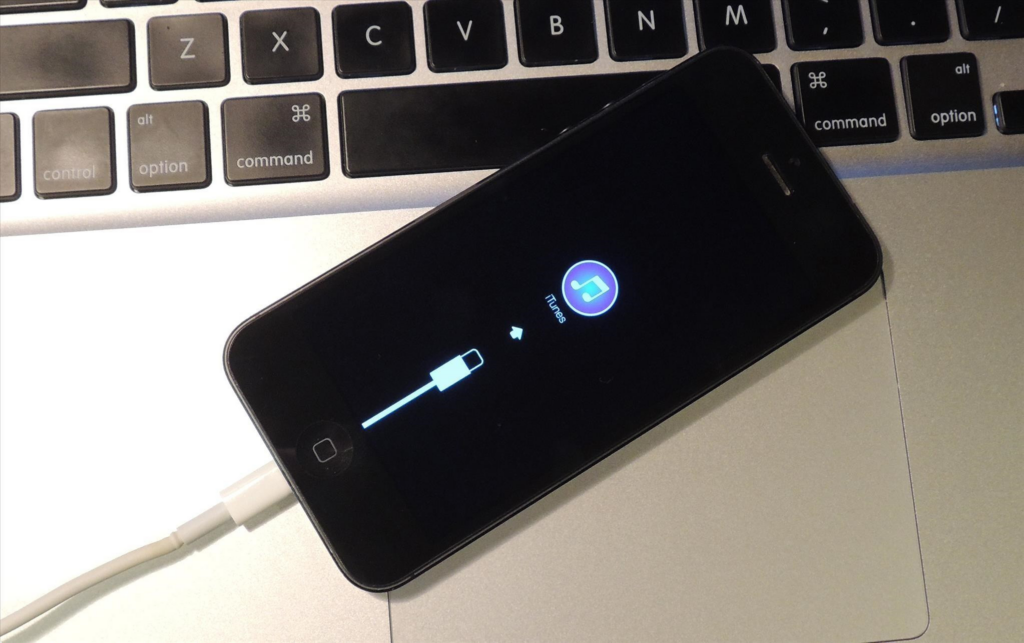
2. Use iTunes or Finder to Restore (If Synced Previously)
If you’ve previously synced your iPod Touch with a computer, you can use iTunes (on Windows or macOS Mojave and earlier) or Finder (on macOS Catalina and later) to restore it.
Steps:
- Connect your iPod Touch to the computer using a USB cable.
- Open iTunes or Finder and select your iPod Touch.
- Click Restore iPod to erase all data and reset the device.
- After completion, set up your iPod as new or restore from a backup
3. Use Recovery Mode (If Not Synced Before)
If your iPod has never been synced, you’ll need to use Recovery Mode to restore it.
Steps:
- Turn off your iPod Touch by holding the power button and sliding to power off.
- Enter Recovery Mode:
- For iPod Touch (7th Gen): Hold the Volume Down button while connecting the device to a computer.
- For iPod Touch (6th Gen and earlier): Hold the Home button while connecting to a computer.
- Keep holding the button until you see the Recovery Mode screen (a computer icon with a cable).
- Open iTunes or Finder and select Restore to erase the iPod and reinstall iOS. 4. Use DFU Mode for Advanced Reset
If Recovery Mode doesn’t work, try DFU (Device Firmware Update) mode, which performs a deeper reset.
Steps:
- Connect your iPod Touch to the computer.
- Put your iPod in DFU Mode:
- Press and hold the Power + Home (or Volume Down for newer models) buttons for 10 seconds.
- Release the Power button but continue holding the Home/Volume Down button for another 10 seconds.
- If the screen remains black, your iPod is in DFU mode.
- Restore using iTunes or Finder by selecting Restore iPod. Learn more about
5. Use iCloud’s Find My iPhone (If Enabled)
If you have Find My iPhone enabled, you can remotely erase your iPod using iCloud.
Steps:
- Go to iCloud.com and log in with your Apple ID.
- Click Find iPhone and select your iPod Touch from the list.
- Choose Erase iPod to reset it remotely.
- Once erased, set it up as new or restore from a backup.
Final Thoughts
Fixing a disabled iPod Touch requires patience, but one of these methods should work for you. If none of these solutions resolve your issue, consider contacting Apple Support for further assistance. Looking for more Apple troubleshooting tips? Stay tuned for the latest tech guides and fixes!
Also Read : iPhone 16 Pro Max Battery Replacement: A Step-by-Step Guide