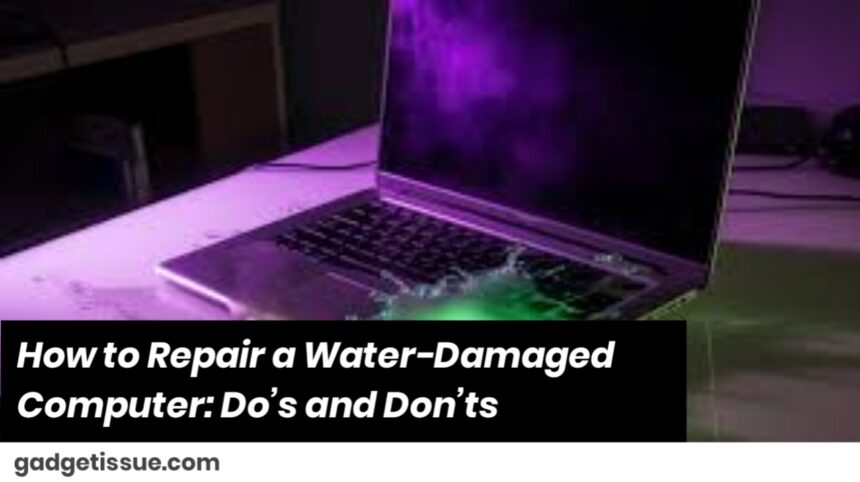
Spilled water on your laptop or desktop? Don’t panic just yet. A quick, calm response can often make all the difference. This step-by-step guide will walk you through exactly what to do—and what to avoid—if your computer gets wet.
Step 1: Power Down—Fast
The very first thing you need to do is cut the power. This stops electricity from flowing and prevents short circuits.
- Hold down the power button to shut the system off immediately.
- Unplug the power cable from the wall.
- If you’re using a laptop and the battery is removable, take it out right away.
Do not try to turn it back on “just to check.” That’s the fastest way to fry your hardware.
Step 2: Unplug Everything
Next, disconnect all external devices:
- Remove USB drives, HDMI cables, headphones, chargers—everything.
- If you have an external keyboard, mouse, or monitor connected, unplug them too.
This limits the risk of water spreading or causing additional damage.
Step 3: Drain and Air It Out

Now it’s time to let gravity do some work and help drain the water.
For laptops:
- Open the lid as far back as it goes.
- Turn the laptop upside down in an inverted “V” shape, like a tent.
- Let it sit and drip dry naturally.
For desktops:
- Unplug the system and remove the side panel.
- Use a soft, absorbent cloth to gently blot away any visible moisture.
Step 4: Soak Up Moisture and Let It Dry
Once the obvious water is gone, your goal is to get rid of hidden moisture.
- Dab all wet areas with paper towels or a lint-free cloth.
- Avoid using a hair dryer or heat gun—they can melt or warp sensitive components.
- Place your device in front of a fan for 24 to 48 hours.
- For laptops, putting it in a sealed bag with silica gel packets (the kind you find in shoe boxes or electronics packaging) can help absorb any remaining moisture.
Tip: Rice isn’t as effective as people think. Silica gel works better.
Step 5: Be Patient—Wait 2-3 Days Before Testing
We get it—you want to see if it still works. But turning it on too soon could destroy it.
- Wait at least 48 to 72 hours.
- Check that everything feels completely dry—ports, keyboard, vents.
- Only then should you reconnect the battery and try powering it on.
Step 6: Check Functionality Carefully
If it powers on, keep an eye out for signs of damage:
- Is the screen acting strange or flickering?
- Are any keys unresponsive?
- Do your USB ports or speakers seem dead?
If anything seems off, power it down immediately to prevent further harm.
Step 7: Consider Getting It Checked by a Pro
Even if everything seems fine, water can leave behind corrosion that damages your motherboard over time.
- A professional technician can open up the device and do a deep clean, often with ultrasonic equipment.
- They’ll also check for corrosion, rust, or lingering moisture inside.
- If there’s permanent damage, they can suggest which parts might need replacing.
What Not to Do
Let’s be clear about what you shouldn’t do after a water spill:
Final Thoughts
Water damage is scary, but it’s not always the end of the road. Many computers can be saved with the right steps and a little patience. The key is acting quickly, drying it properly, and being careful with the reboot. And when in doubt, don’t risk it—have a pro take a look.
Also Read : Why Is My Phone Overheating? Causes and Fixes