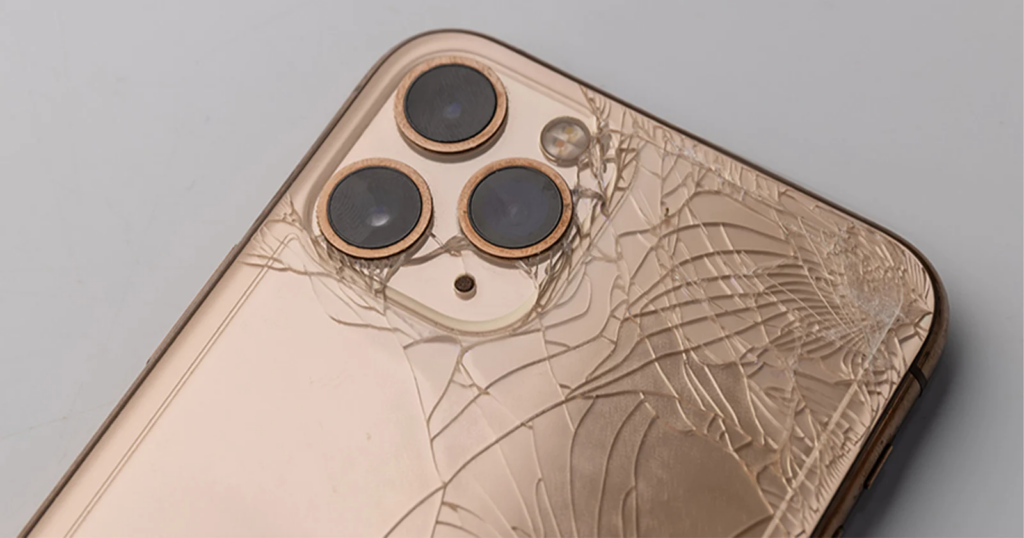
The iPhone 16 Pro Max is a premium smartphone, but like any other device, it is susceptible to accidental drops and damage. One of the most common issues users face is a cracked or shattered back glass. While Apple offers official repair services, replacing the back glass on your own can be a cost-effective alternative. This detailed guide will walk you through the process of replacing the back glass on the iPhone 16 Pro Max, For additional heating techniques, refer to this guide from Mobile Repair Tech. the necessary tools, and precautions to take.
Tools Required for iPhone 16 Pro Max Back Glass Replacement
Before starting the repair process, ensure you have all the necessary tools:
- Pentalobe screwdriver – To remove the screws located near the charging port.
- iOpener or heat gun – To soften the adhesive that holds the back glass in place.
- Plastic opening picks – To carefully separate the broken glass from the phone’s frame.
- Suction cup handle – To help lift the broken glass slightly without damaging the internals.
- Tweezers – To handle small components and remove adhesive residue.
- Isopropyl alcohol (90% or higher) – To clean any leftover adhesive before applying the new glass.
- Replacement adhesive – To ensure the new back glass is properly secured.
If you do not have these tools, you can purchase them from a trusted source such as iFixit, which specializes in high-quality repair kits and tools.
Step-by-Step iPhone 16 Pro Max Back Glass Replacement
Step 1: Power Off the iPhone
Before beginning any repair work, turn off your iPhone 16 Pro Max to prevent potential short circuits or internal damage.
Step 2: Remove the Pentalobe Screws
Locate the two pentalobe screws next to the charging port at the bottom of the phone. Use a pentalobe screwdriver to remove them carefully and keep them in a safe place.
Step 3: Apply Heat to Loosen the Adhesive
Apple secures the back glass with strong adhesive, which must be loosened before removal. Use an iOpener (a microwave-safe heating tool) or a heat gun set to low temperature.
- Apply heat evenly for 2-3 minutes to soften the adhesive.
- Avoid overheating, as excessive heat can damage internal components.

Step 4: Use a Suction Cup and Opening Picks
- Place a suction cup near the bottom of the back glass and pull gently to create a small gap.
- Insert a plastic opening pick into the gap and slowly slide it around the edges of the phone.
- Be especially careful near the camera module and wireless charging coil to avoid internal damage.
Step 5: Remove the Broken Back Glass
Once the adhesive is loosened, gently lift the back glass while making sure no internal components are being pulled along with it. Do not force the removal, as this may damage underlying components.
For a visual demonstration of this step, check out this YouTube tutorial on safely removing the back glass.
Step 6: Clean the Surface
- Use tweezers to remove any remaining adhesive pieces from the frame.
- Dampen a lint-free cloth with isopropyl alcohol (90% or higher) and wipe the frame to ensure a clean bonding surface for the new adhesive.
- Let the surface dry completely before proceeding to the next step.
Step 7: Install the New Back Glass
- Apply replacement adhesive or use pre-installed adhesive on the new back glass.
- Align the new glass carefully and press it down firmly to ensure it adheres properly.
- Use clips or light weights to hold the glass in place for 5-10 minutes while the adhesive sets.
Step 8: Reassemble and Test the iPhone
- Reinsert and tighten the two pentalobe screws near the charging port.
- Power on the iPhone and check whether all features, such as wireless charging, function correctly.
If you experience any issues after reassembly, visit Apple Support for troubleshooting steps or professional repair services.
Final Thoughts
Replacing the iPhone 16 Pro Max back glass is a delicate process that requires patience and precision. If you have the right tools and follow the steps carefully, you can successfully repair your phone without visiting a service center.
However, if you are unsure or uncomfortable performing the repair yourself, it is advisable to seek professional repair services to avoid causing further damage to the device. Many third-party repair centers offer high-quality replacement services at a fraction of the cost of official Apple repairs.
Also Read : Complete Troubleshooting Guide: Fixing Issues with HyperX Cloud Alpha Headset


